
In this tutorial, we’ll use the Catalog pane and the ArcPy package to access raster data properties inside ArcGIS Pro.
The ArcPy package features a raster module for working with raster imagery. We’ll use it to reference a raster dataset on disk and access some of its file properties.
STEP 1: Downloading the data
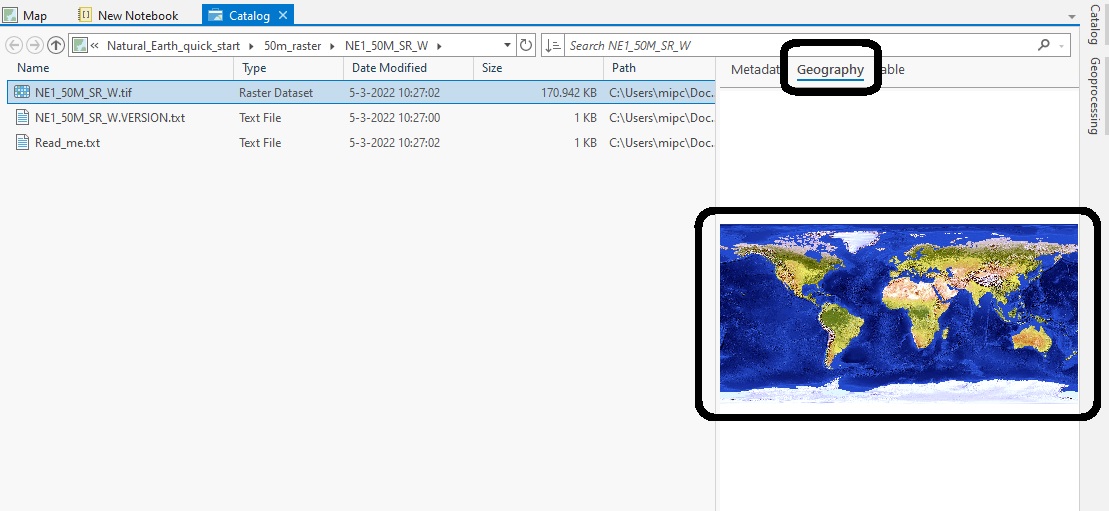
Open up ArcGIS Pro and create a new project from a blank map template. Next, download the Natural Earth quick start kit, which contains a raster file that we’ll use in this tutorial. After downloading the dataset, unzip the file on your hard drive. Next, click “Insert” on the ribbon interface inside Pro and select “Add Folder” to add the dataset to your project. Navigate to the file folder that contains the downloaded data. Select the folder in the “Add folder connection” window and click OK. Next, open the Catalog pane to see the Natural Earth quick start folder listed under Folders. Navigate to the 50M_raster folder and locate the NE1_50M_SR_W.tif file, which has three bands. If you hover with your mouse cursor over the file, a popup will appear that says this is a raster dataset:

You will also spot a Read_me.txt file, which contains projection information. This is important metadata when reprojecting the data at a later moment in time. We’ll now have a look how we can display more file properties inside the Catalog pane, before we use ArcPy’s raster module to display such info.
STEP 2: Display File Properties
If you right-click the NE1_50M_SR_W.tif file in the Catalog pane, you can select “Properties” to get access to all important metadata, such as spatial reference, cell sizes and the amount of rows and columns of the raster. If you want to see a preview of the raster file itself, right-click the .tiff file, select “view metadata” and select the “Geography” tab on the right of the screen:
We’ll now use ArcPy to see how we can access such as properties.
STEP 3: Create a new notebook inside Pro
We’ll now start writing some Python, so we’ll need to create a new notebook inside Pro. This is done by selecting “Insert” from the ribbon interface and then “New Notebook”. A new notebook will open up automatically. Before you can access the file properties of the raster file, you need to reference it using a file path. To select the file path, head over to Windows File Explorer, and right-click the .tiff file while pressing the SHIFT key. Now, choose the option “Copy as path” and paste it between the brackets inside a cell in the notebook inside Pro:
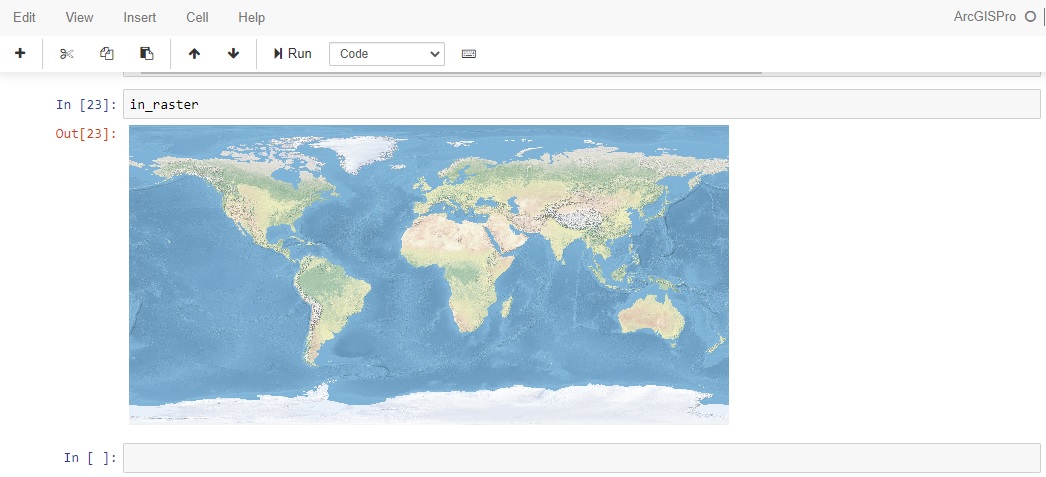
In []: in_raster = arcpy.Raster([paste file path here])
Make sure the path name has slashes (“/”) instead of backslashes (“\”) and a single quote around it. Run this cell to reference the raster file inside the notebook by pressing SHIFT and ENTER at the same time or selecting the cell and clicking “Run”. Next, if you run only the name of the raster object name inside a notebook cell, you will get a visualization of the raster file:
We are now ready to access the file properties.
STEP 4: Access raster file properties
Have a look at three file properties below: a count of the number of bands, their names and the extent property which lists also the spatial reference info in a nicely formatted way:
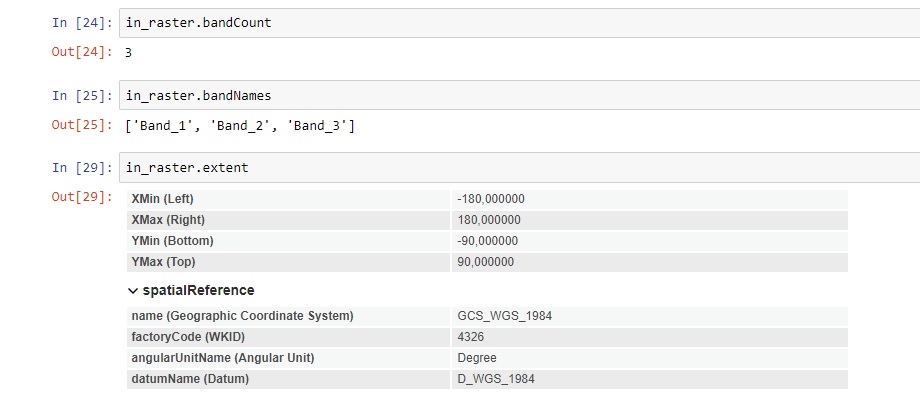
Consult the arcpy documentation for more raster file properties.
Want to learn more about Arcpy, Python, and ArcGIS Pro? Take a look at our Introduction to Programming ArcGIS Pro with Python and Intermediate ArcGIS Pro Programming with Python classes.
