
This tutorial covers a recently enhanced conversion tool in ArcGIS Pro to convert a raster or vector layer to KML in ArcGIS Pro. In ArcGIS Pro 3.x, the Layer to KML tool is enhanced to allow you to convert feature layers to basic KML files. We’ll describe how that tool works using a vector and raster layer. Before continuing, here’s some background information on the KML file format.
KML is a file format for storing geographic data in XML format. The tool outputs a KMZ file that ca be read by applications such as Google Earth, ArcGIS Earth, and ArcGIS Pro. KMZ is a compressed file format that contains one or more KML files as well as their associated resources. KMZ is an XML-based file format. As we’ll see below, because it is a compressed format, it greatly reduces file sizes but offers no additional styling possibilities after conversion. Because KML and KMZ files are created with the WGS84 coordinate system, input data may need to be reprojected before being converted.
STEP 1: Download the data
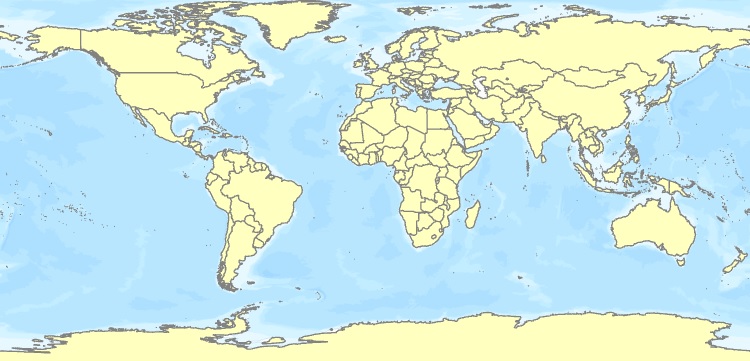
We’ll use the Natural Earth Quickstart kit data to complete this tutorial on how to convert raster or vector data to KML. The Natural Earth Quickstart kit is a large ZIP file that contains a shapefile with the point data we need for this tutorial. Download the file, unzip it to a local hard drive, and open Pro. Create a new project and open the Catalog pane. Click the “computer” tab and navigate to the unzipped data you have just downloaded. Right-click the folder and select “Add to Project”. Now select the “Project” tab in the Catalog pane and notice that the file folder is listed under Folders. Add the following shapefile to the map: ne_10m_admin_0_countries.shp. The file is located in the 10m_cultural subfolder. With some additional styling, the map looks like this:
STEP 2: Convert a vector layer to KML
Select the Analysis tab on the ribbon interface and click “Tools”. Find the Conversion toolset and open the KML tools. Open the “Layer to KML” tool. We’ll now convert our vector layer with all country polygons to a single KML file. There are only two tool parameters: for input dataset, select “ne_10m_admin_0_countries”.
Leave the output preset as it is, the tool will generate a KMZ file in your project folder. KMZ is the default, however you can also choose a .KML extension. You will have to do this yourself in the file name. A KMZ contains a KML file. The difference is that input features with attachments will be included in the output KMZ file, but they will not be included if the output is a .kml file. For more information, the online documentation of Pro has an entire page dedicated to how conversion to KML works, in addition to a Layer to KML tool page itself.
Under “Output image properties”, you can see the tool has presets for the file output in terms of pixel size and DPI, which stands for Dots Per Inch. You can adjust these if preferred. For now, leave all the other tool parameters and click “Run”. Refresh your project folder in the Catalog window the KMZ file will appear with the name ne_10m_admin_0_co_LayerToKML.kmz.
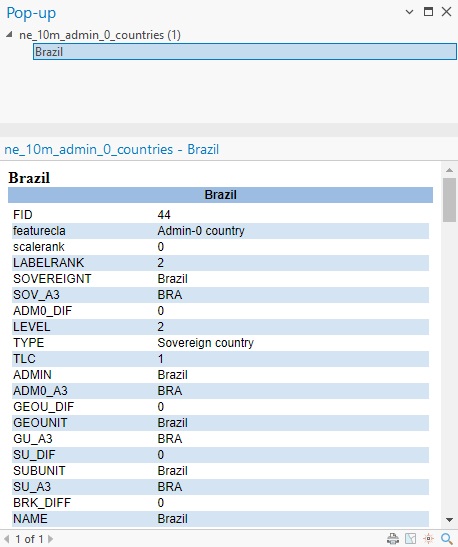
The new file is not added to the map automatically. You can add the file to your map by dragging the file into the map. Deselect the original feature layer with the country polygons so you can see both files have the same data and styling (this means that the map window will look like the image above). While the KMZ file has no attribute table, the associated data is located in a pop-up. You can visualize one by clicking a country of your choice in the map window. When clicking Brazil in the map, a pop-up will display all column data from the shapefile’s attribute table:
STEP 3: Convert a raster image to KML
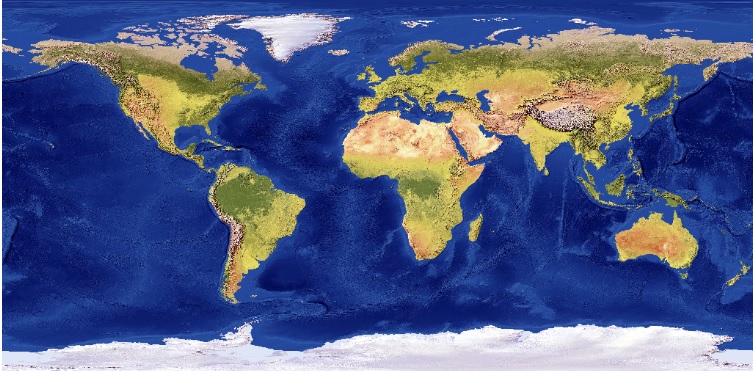
We’ll now look at how you can convert a raster layer to a KML layer. Add the following file from the 50M_raster subfolder to the map window: NE1_50M_SR_W.tif. It is a three-band raster image covering the entire earth. The file has a size of 166MB. Our output KML layer will be much smaller as it uses compression.
Again, open the Layer to KML tool and for input layer, select the NE1_50M_SR_W.tif file. Under “Data Content Properties”, check the box that says “Return single composite image”, to reduce the file size. Run the tool and add the resulting .KMZ file to the map, so your map window will look like this:
You can see its size by right-clicking the file in the Catalog pane and selecting “Show in File Explorer”. There, mouse over the file and notice its size is only 1.20MB.
We hope you have enjoyed this tutorial on how to convert a raster or vector to KML in ArcGIS Pro. You can view more tutorials and articles focusing on ArcGIS Pro topics at ArcGIS Pro Articles Archives – (geospatialtraining.com). To view live video tutorials on similar topics, visit our YouTube Channel at Geospatial Training Services – YouTube.
