ArcGIS Online doesn’t make it incredibly clear that you can create a custom basemap for use in Map Viewer. Within the map viewer itself, there are small adjustments you can make from the basemap details and settings panel, such as darkening the hillshade layer through various blend modes, using any of the available effects, or turning on or off layers that make up the basemap. But wouldn’t it be nice if we could customize absolutely everything in the basemap, down to the symbols, font size, and font color? Well… we can!
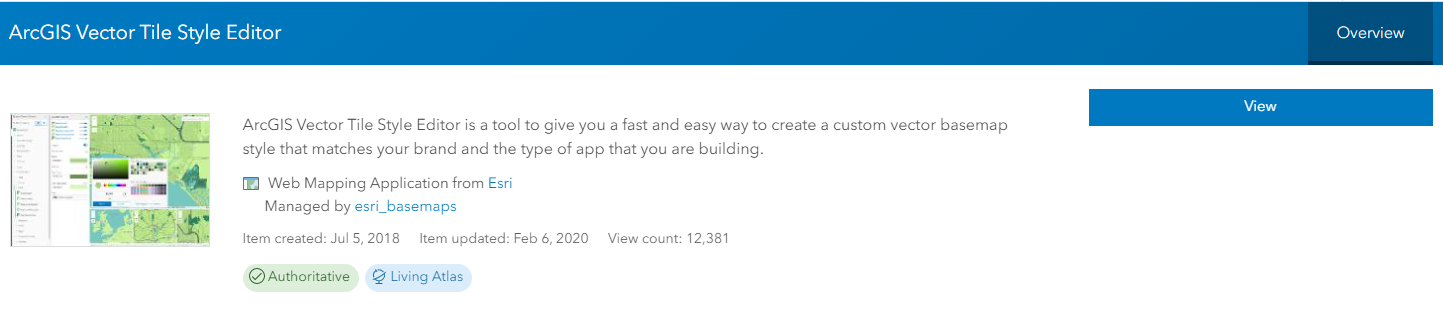
A few years ago, ESRI created vector versions of most of their traditional basemaps. Shortly after they introduced the ArcGIS Vector Tile Style Editor application.
In this tutorial, you will learn how use the ArcGIS Vector Tile Style Editor to customize a basemap for use in ArcGIS Online Map Viewer. You will edit color variations of the underlying features and make changes to font styles and colors.
Click on the link above to see details about the editor application and when you are ready to complete the below tutorial, click on the View button to enter the application.
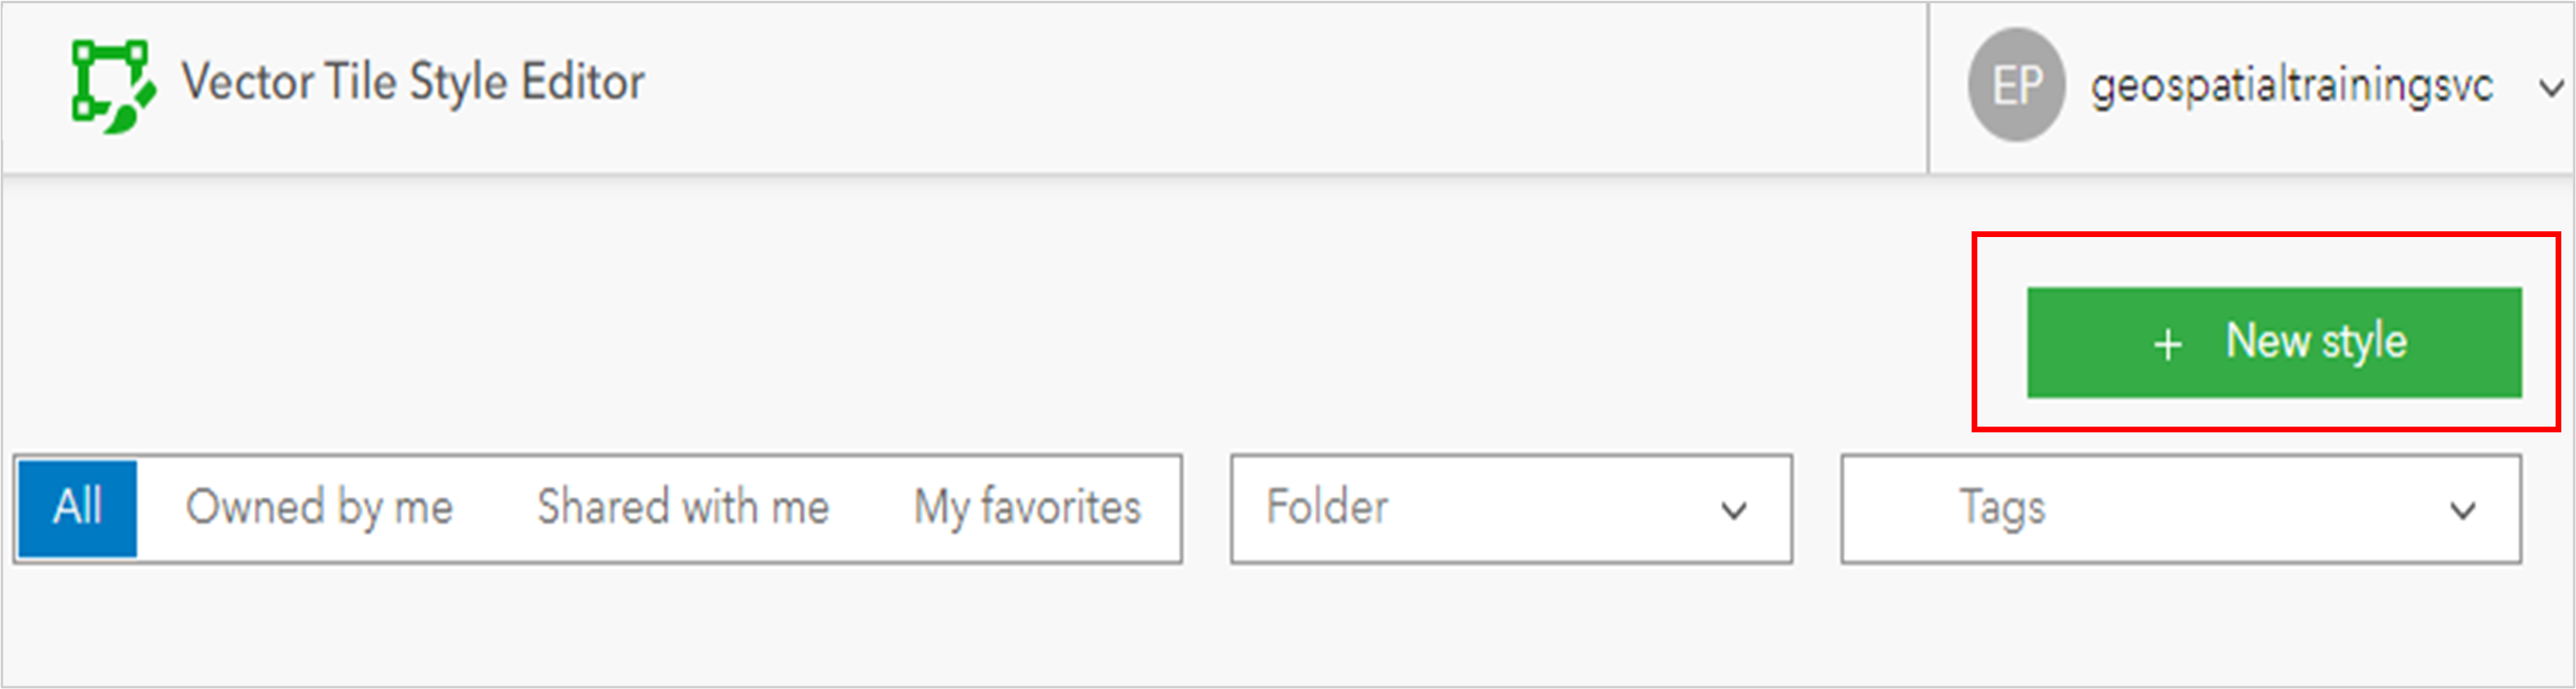
When entering the Vector Tile Style Editor application, the first thing you will want to do is click on New Style.
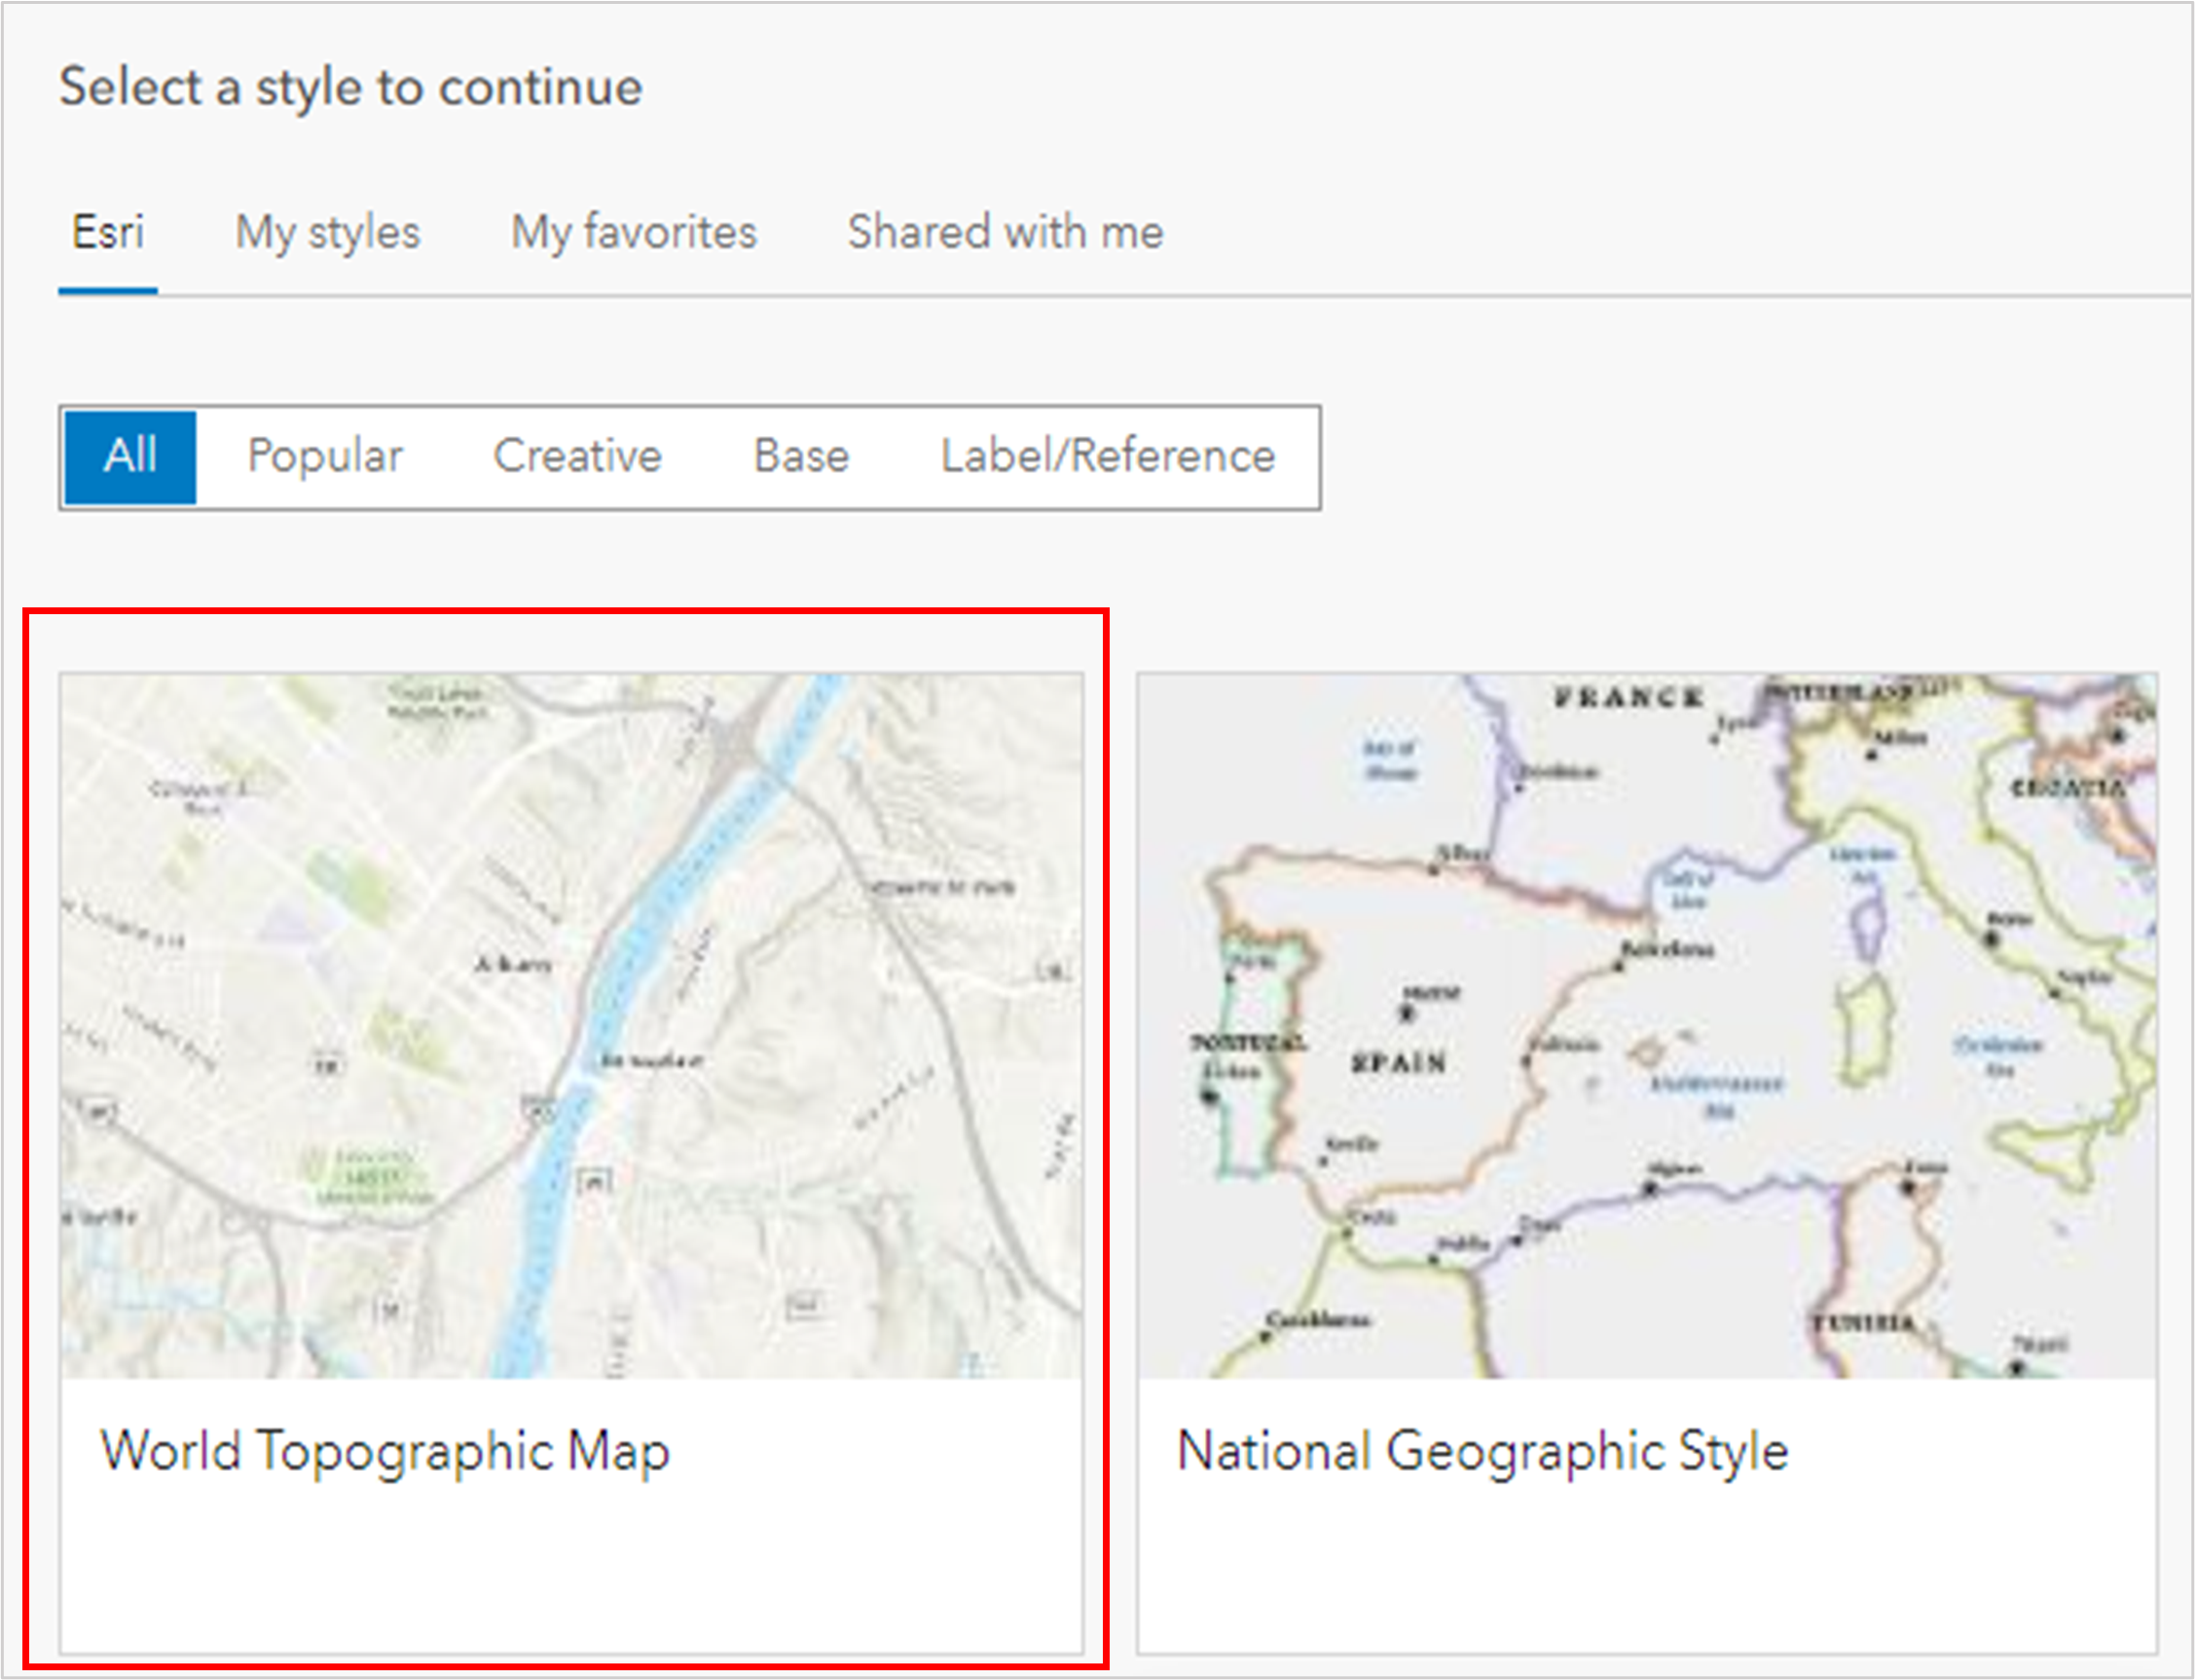
From there, you will be taken to a gallery of all possible vector style basemaps that you can use as the foundation to your new basemap. Click to select the World Topographic Map.
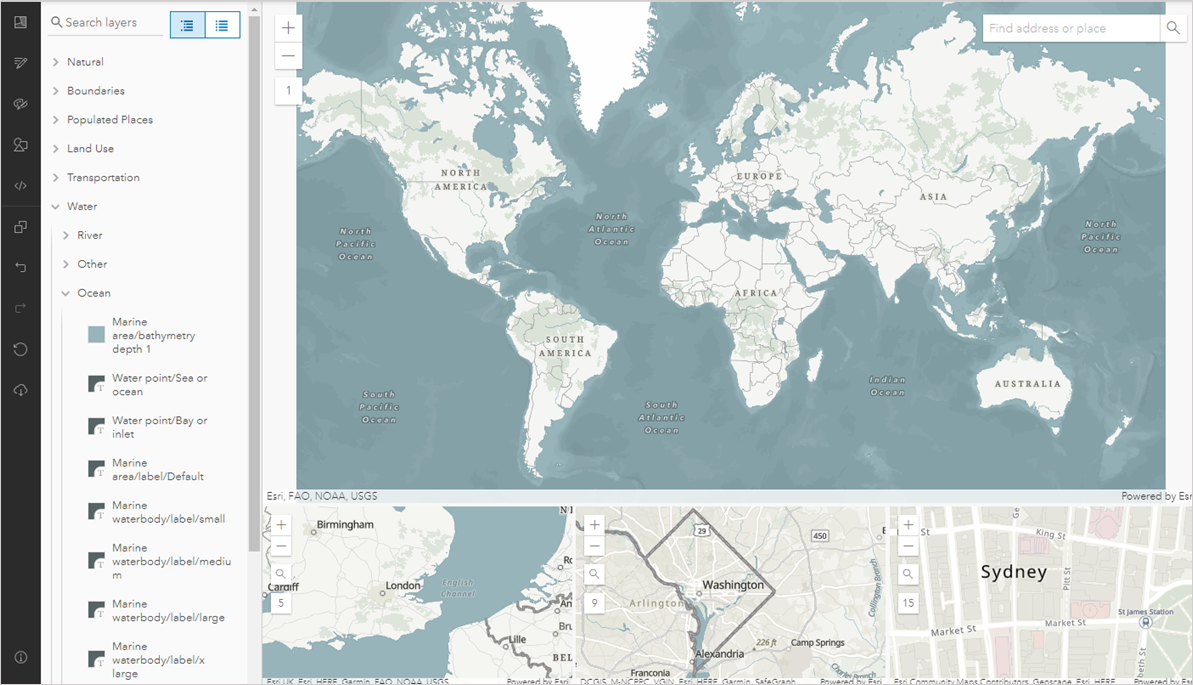
You have 5 options for editing. You can use Quick Edit, which gives you the ability to make changes by broad groups of information, such as Lands, Water, Roads, Boundaries, etc. You would want to use this if you are creating a general reference basemap without too much specific detail.
Edit Layer Styles allows you to change the information in each layer individually, which is what you would want to use for a higher detailed customization.
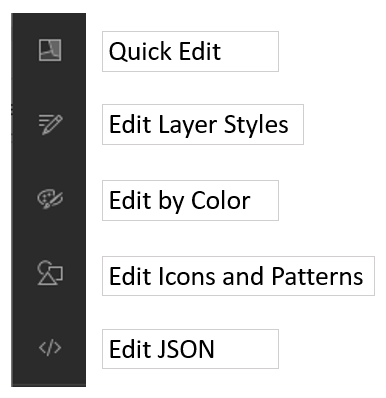
Edit by Color allows you to make universal changes to all items associated with a single color. You would want to use this if there are specific colors in your basemap that are not working well with the other features in your map and you just want to alter the color a bit.
Edit Icons and Patterns allow you to make changes to the Sprites, which are the small graphic files used to create point symbols or patterns for fills and lines. This is helpful when you work in a very specific industry with standardized symbols.
Edit JSON allows you to customize even further by adding features that are not included in the style. This option gives you the most potential for customization, though you need to understand how to work with JSON to utilize it.
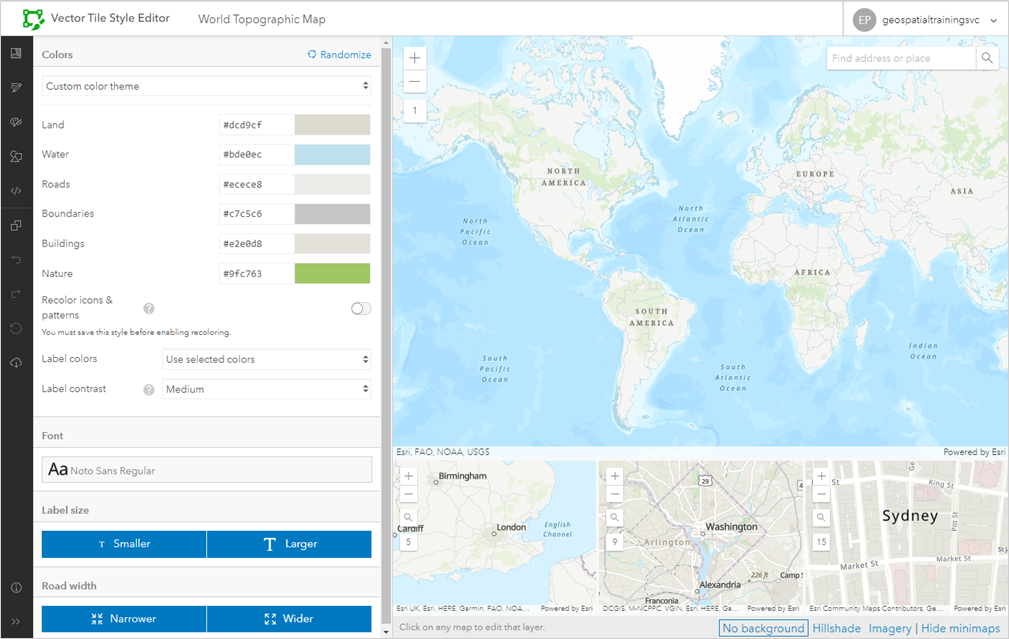
We are going to stick with Quick Edit for now. Your screen should look like the below image, with an image of your map on the right, and your working options on the left. There are also three different maps in the lower right that show you what your maps looks like at various extents.
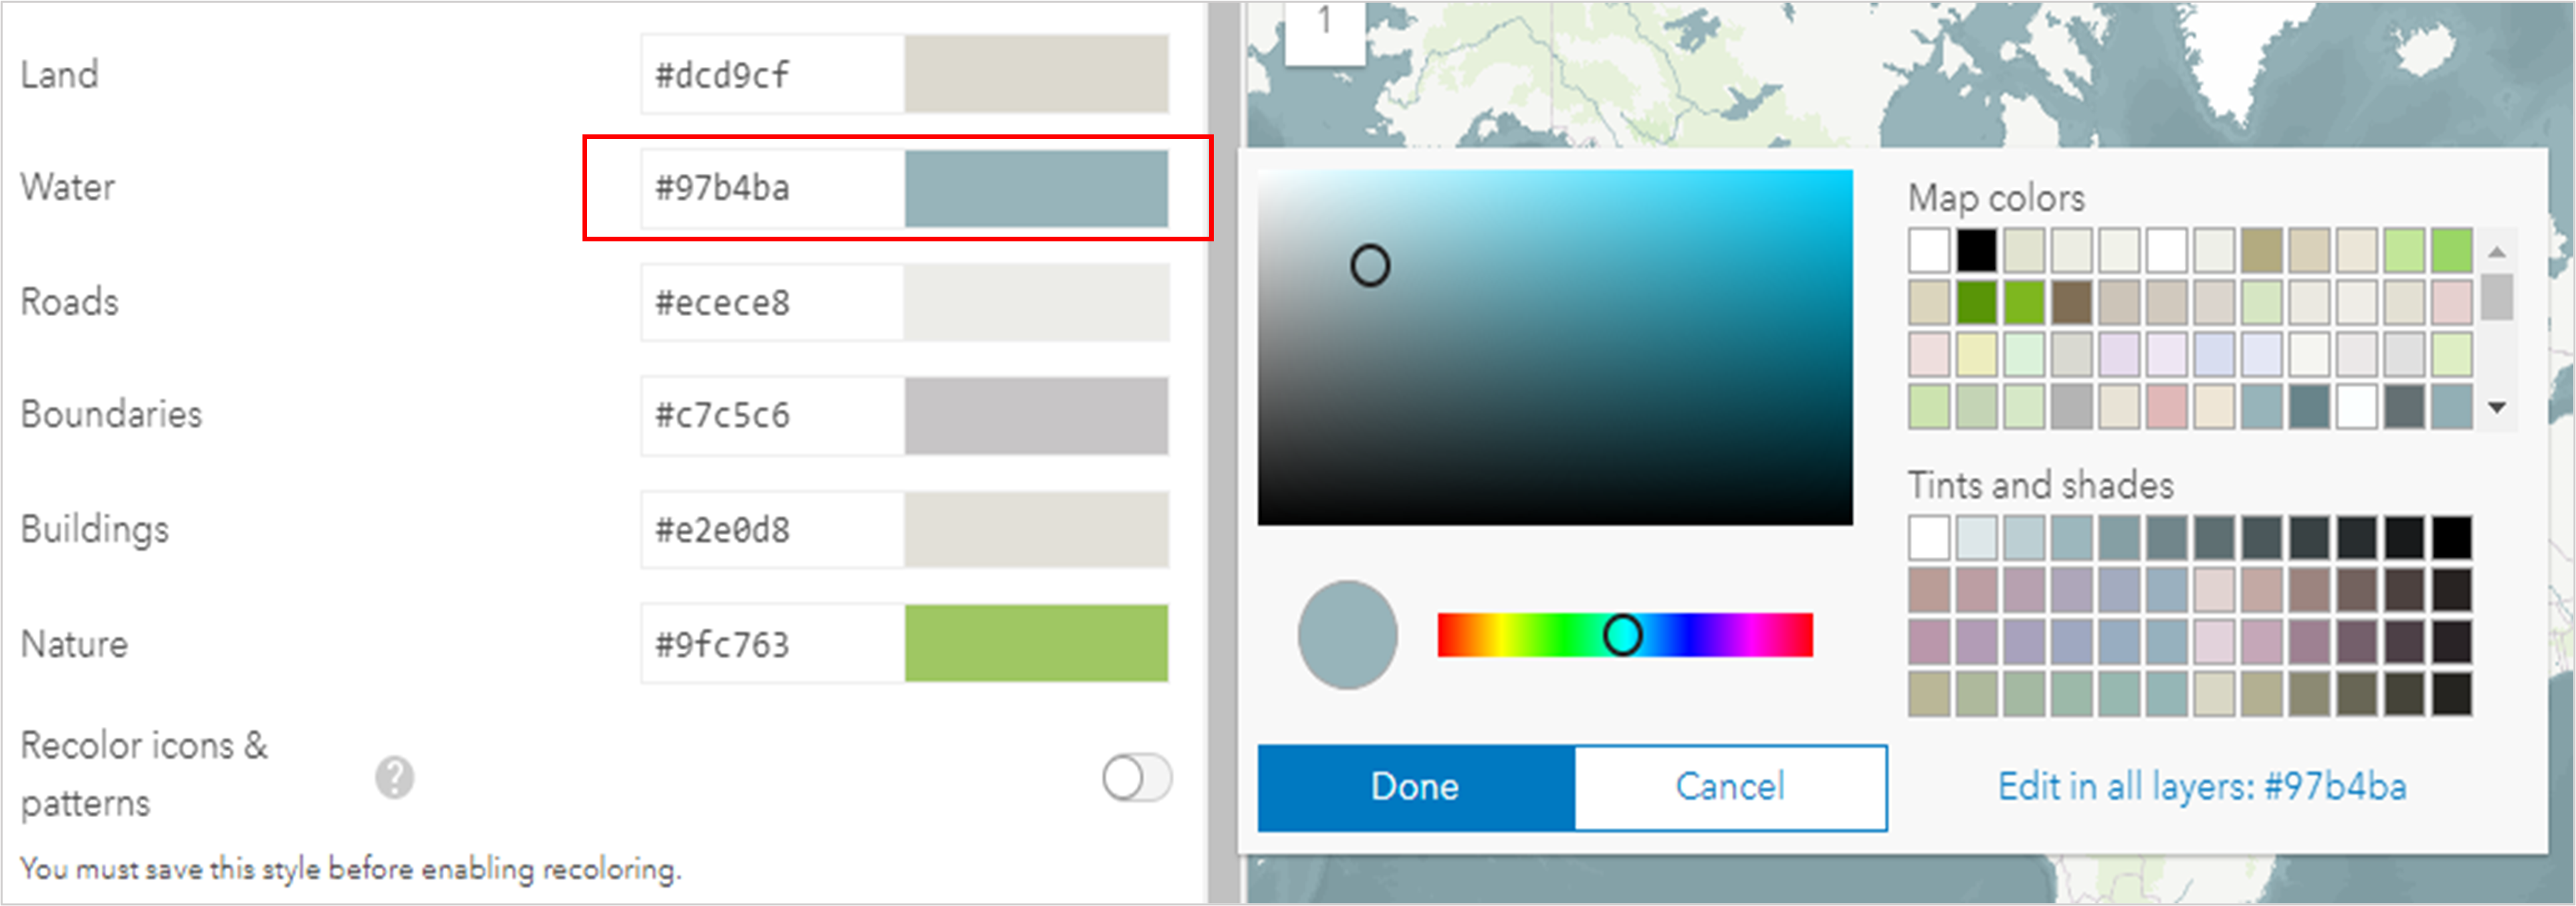
The first thing we will do is make the water darker and the continents greyer. When we click on the Water color patch, a color picker appears. We can explore the various colors from the color picker and as we do, the color in the basemap will dynamically change for us. Choose any color you like, or enter the following hexadecimal code into the water color category: #97b4ba
Next, we need to zoom in so that we can see large swaths of the green nature color. To make this greyer, we need to again click on the color patch to view the color picker. Choose whatever less saturated green you like, or enter the following hexadecimal code: #96b393
Your map should look similar to the below image. As we can see, we need to make the oceanic labels more visible against the newly darkened water color. To do this, we need to click on the Edit Layer Styles option.

From the Edit Layer Styles panel, click on Water to view the drop-down of layer styles you have the option of editing. From the list, first click on Ocean and then click on the “Marine-waterbody/label/2x Large” option. When you do this, another panel of options will appear that will let you edit the visibility range, font, size, color, placement, and more.
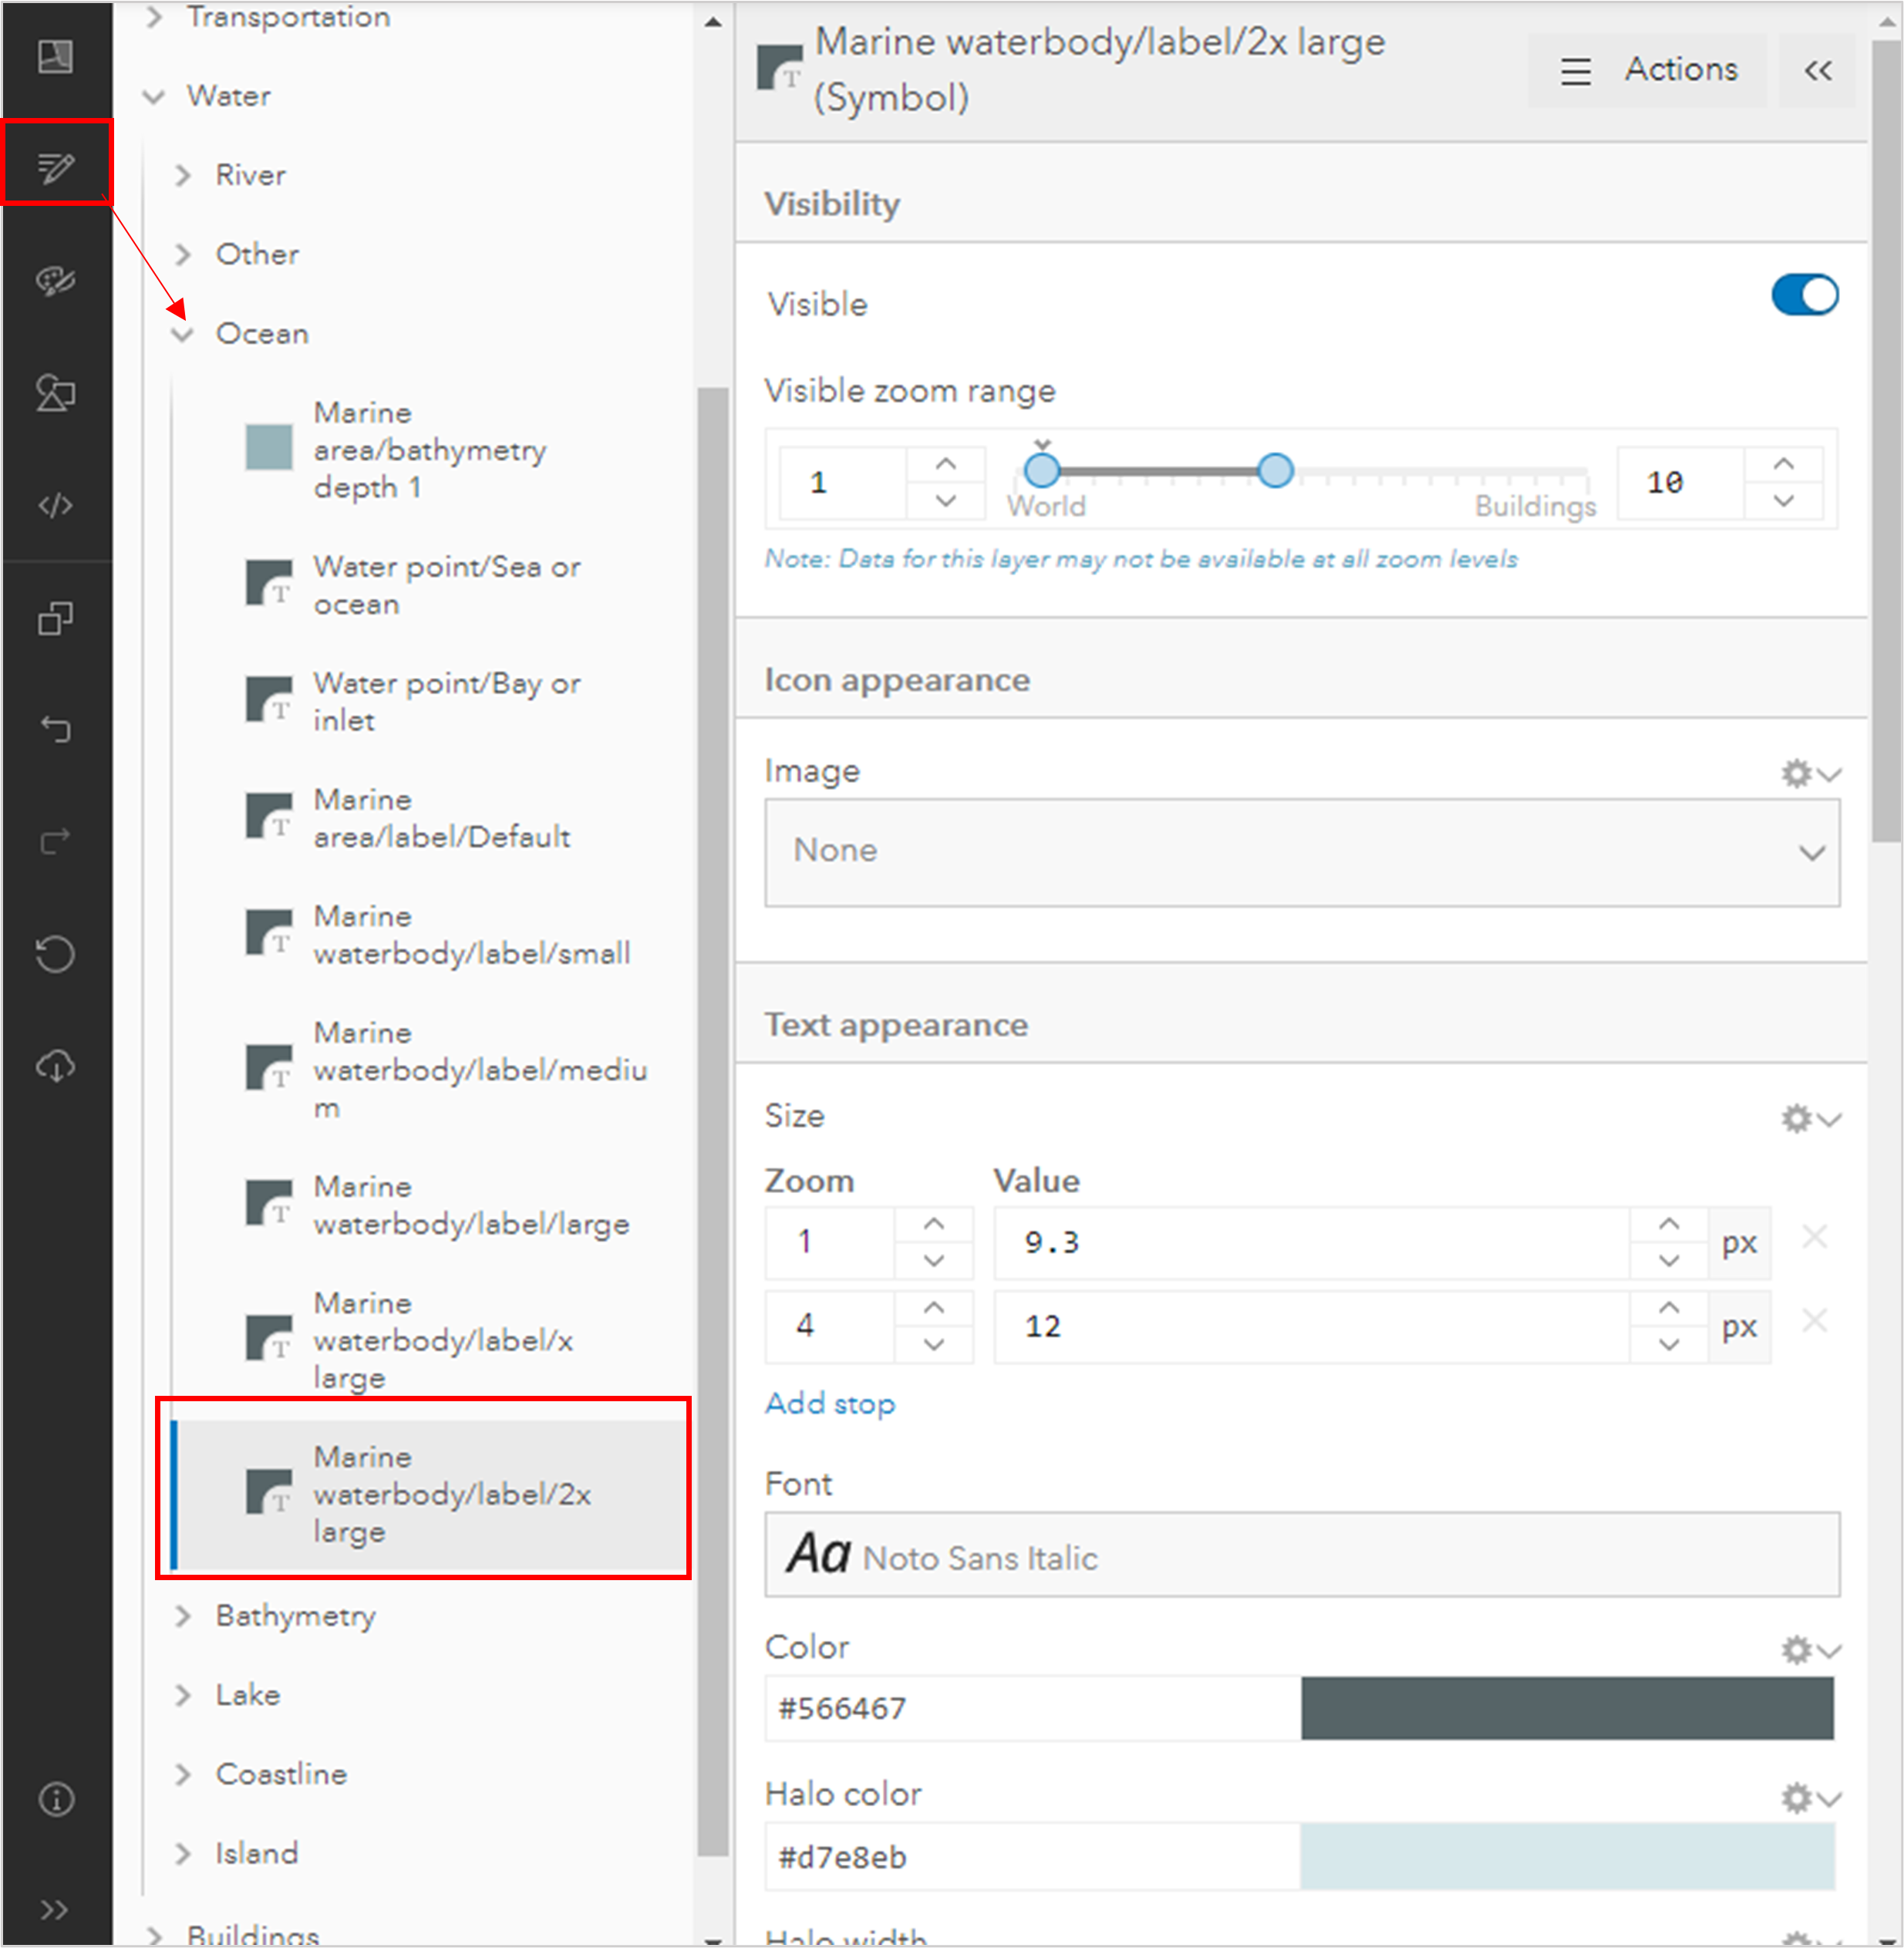
First, click on the Font option and change the style to “Avenir Next LT Pro Bold Italic”.
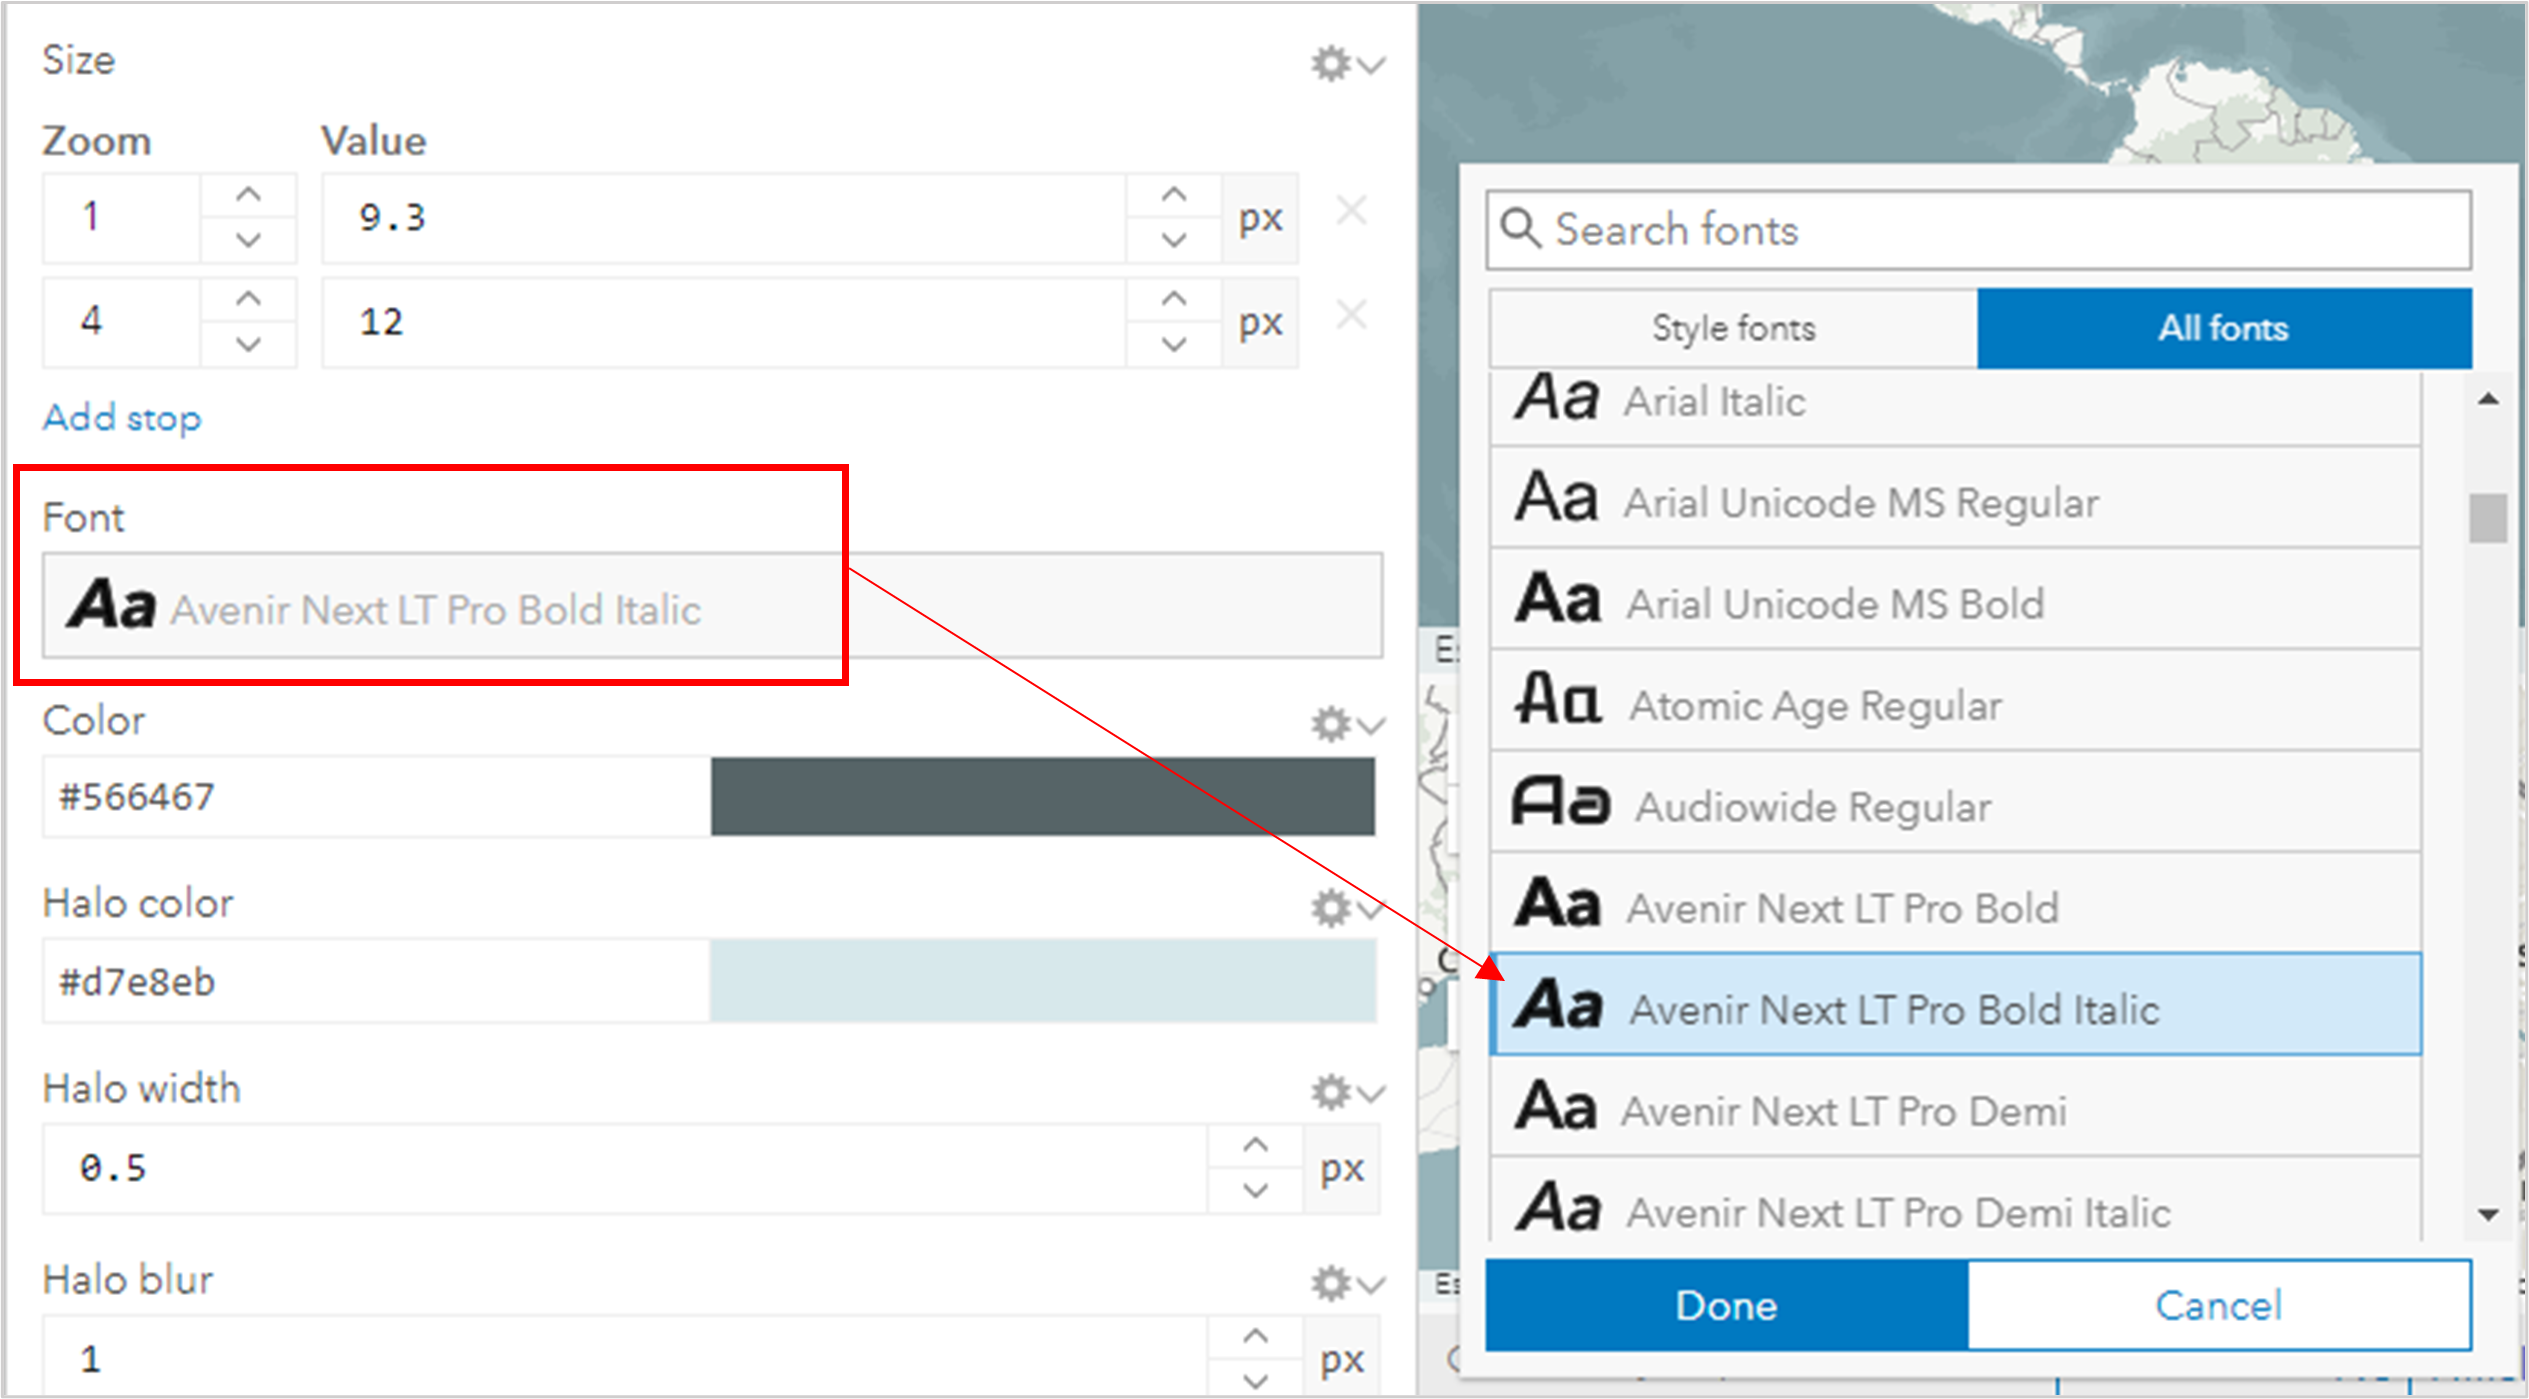
Next, change the font color to a light grey and the halo color to a dark blue. Click on each color patch to use the color picker, or enter the following hexadecimal values: Color – #e5eaeb, Halo – #122329
Your map should now resemble the below image.
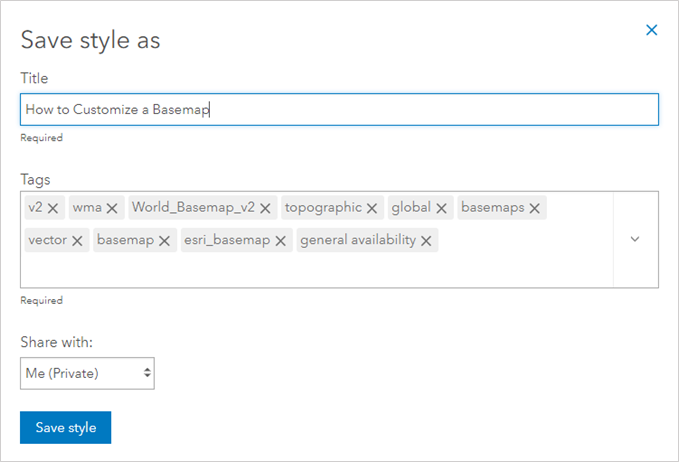
Click on the Save As option from the dark toolbar on the left and give your basemap a unique name and then Save the style.
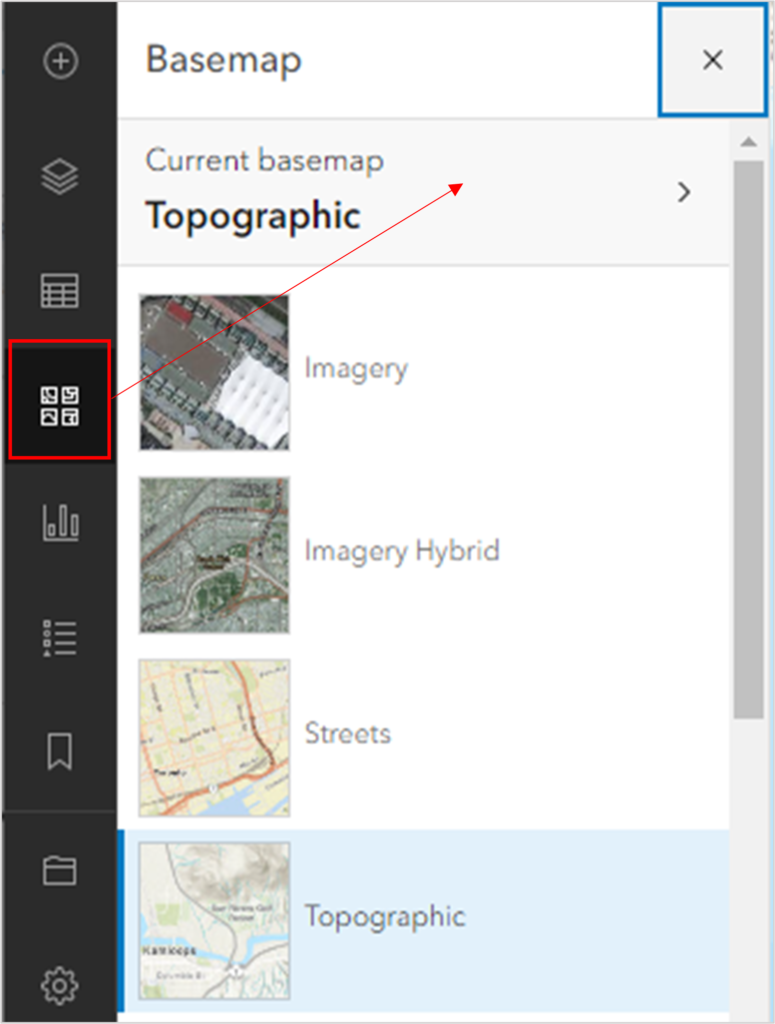
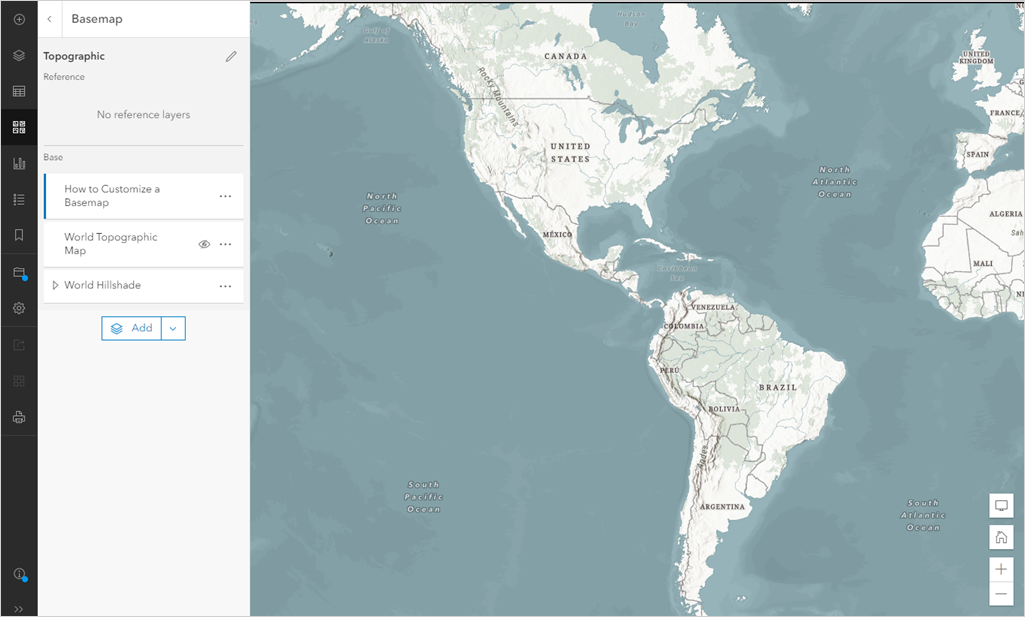
Exit the Vector Tile Style Editor and open a new Map in Map Viewer. Click into the basemap gallery options and then click on the Current Basemap text at the top of the gallery. This will take you into the current basemap details panel.
From the basemap details panel, click on the Add button. You should see your saved basemap style at the top of your content options. Click the plus sign to add it to the basemap and then click back to the main basemap details panel using the back arrow in the upper left.

Now, turn off the World Topographic Map by clicking on the eye symbol and you will see your new basemap style over the Hillshade. You have now created your own custom basemap style for use in future maps and apps.