

With the release of ArcGIS Pro, what was formerly known as “map books” in ArcGIS Desktop, has been renamed “map series”, but the concept is still the same. A map series is a collection of pages (also known as map sheets) built from a single layout in an ArcGIS Pro project in which each page shows a particular map extent. Map series pages can have dynamic elements that update for each page, such as scale or the map title, and static elements that are constant across all pages, such as graphics.
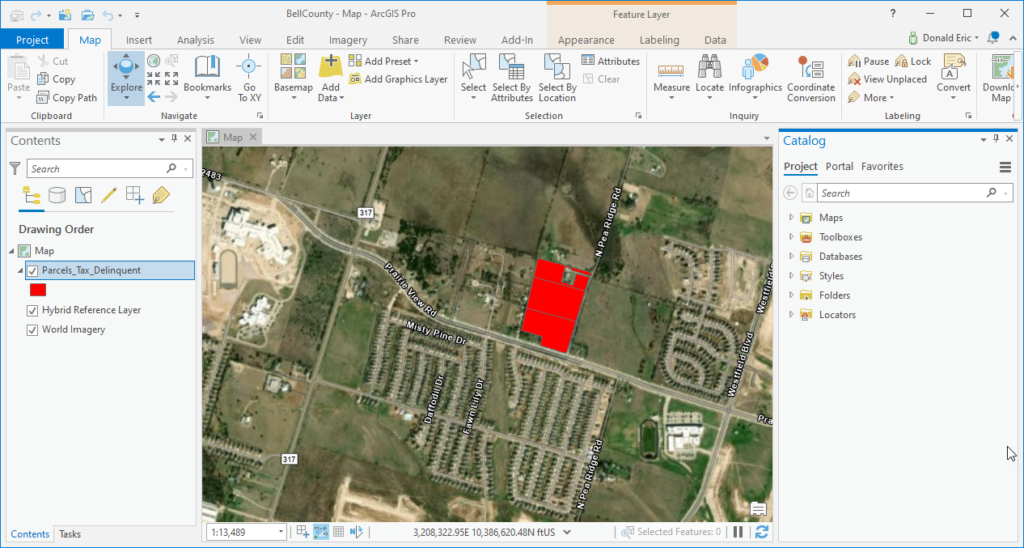
In this tutorial I’ll show you the workflow in ArcGIS Pro for creating a map series. If you’d like to follow along in your own local instance of ArcGIS Pro you can download the ArcGIS Pro package file that accompanies this tutorial. The package (BellCountyMapSeries.ppkx) contains an ArcGIS Pro project with a single map that contains tax delinquent parcel data for Bell County, Texas. Our goal with this project is to create a map series with one map sheet for each vacant land parcel that has delinquent taxes. When you open the package it should appear as seen in the screenshot below.
Enabling the Map Series
Open the attribute table for the Parcels_Tax_Delinquent layer and you should see 301 records. One for each currently tax delinquent parcel.
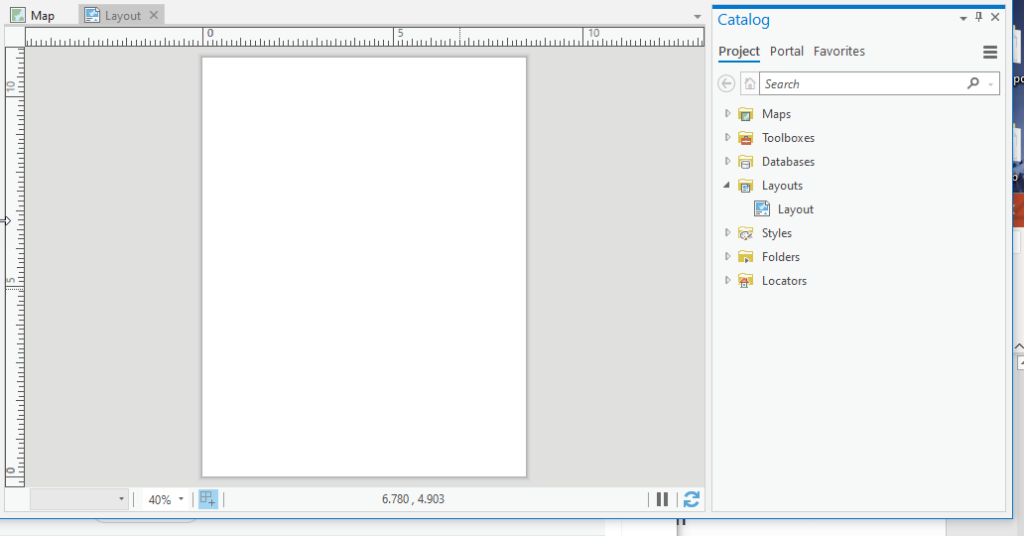
Click the Insert tab in ArcGIS Pro and select the New Layout button to display layout gallery. Select Letter 8.5″ x 11″. This will create a new, empty layout as seen below. You can rename the layout if you’d like.
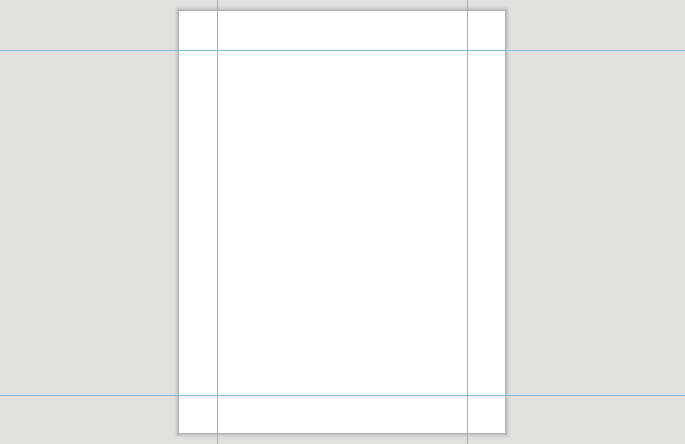
With the Layout open, right click the ruler across the top of the Layout and select Add Guides. Select Both for the Orientation, Offset from edge for Placement, and a 1 in Position.

Click Ok to add the guides seen below.
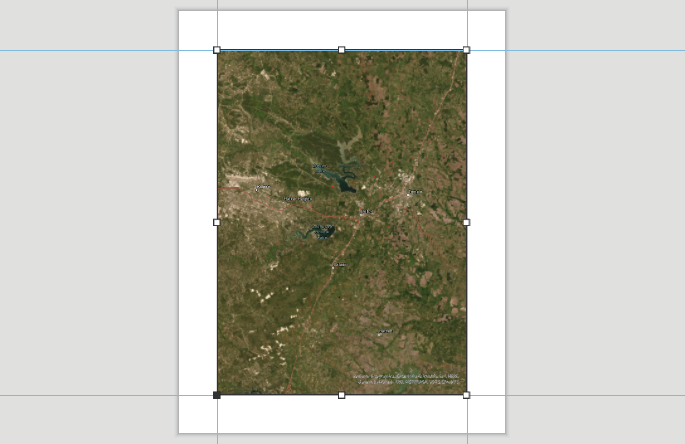
On the ArcGIS Pro Insert tab select Map Frame | Map | Default Extent and draw a rectangle in the center of the guides so that it appears as seen below.
On the Layout tab, click the lower part of the Map Series button and then select Spatial. This will display the Layout Properties dialog seen below with Map Series selected. The Enable toggle button should automatically be toggled on, but if it’s not you’ll need to enable it.
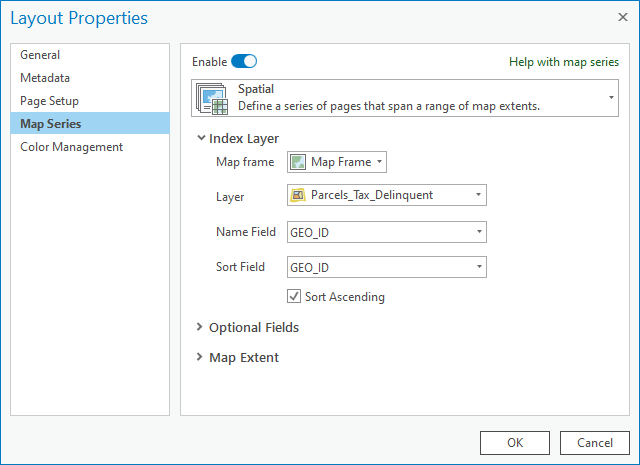
Since we’ve only added a single map frame to the layout this will be the default choice for the Map frame. The index layer will also be the default of Parcels_Tax_Delinquent in this case since it’s the only available layer. This is the layer we’ll use as the irregular index layer. It will create one map per feature just like the grid and strip map index layers, but the features can be of an irregular shape unlike those two types of index layers.
Select legal_description as the Name Field as well as the Sort Field. The legal_description field contains the legal description for each property, and we’ll display that as the title for each sheet.
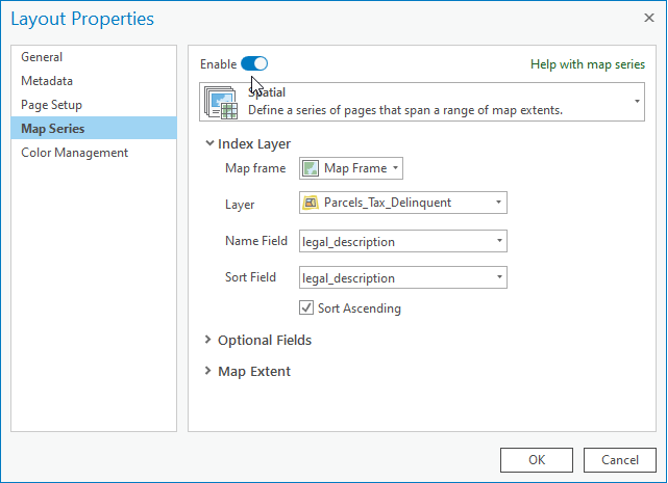
You can leave the defaults for the parameters under Optional Fields. Expand the Map Extent section and ensure that Best Fit Extent is selected.
Click OK to apply the Map Series parameters and create the map series. After the map series has been generated you should see a list of the pages in the Contents pane under List Map Series Pages, with the first page selected and displayed in the layout as seen in the screenshot below.

You can double click each of the individual pages in the Contents pane to see the resulting map sheet.
You’ll often want to add some additional content to the map sheets including things like a title, north arrow, scale bar, and other supporting information. Text that you add can be dynamic text or static text. We’ll keep it fairly simple here, but let’s add a few items.
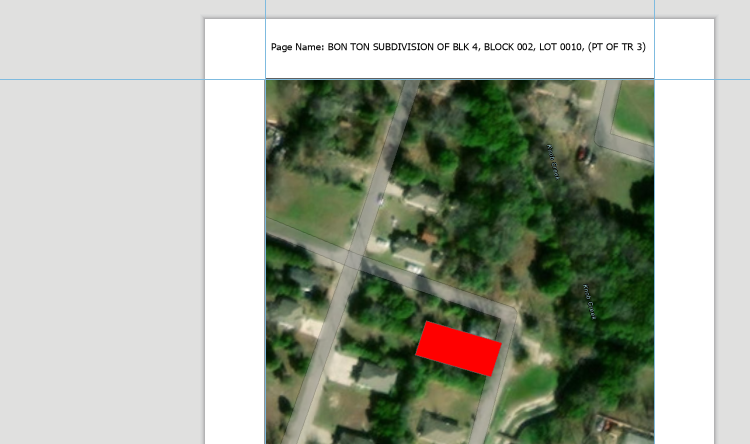
Click the Insert tab and then the dropdown arrow for Dynamic Text. Scroll down to Map Series and select Page Name. Draw a rectangle where you want the dynamic text to be placed. This will ensure that the title of each sheet is tied to the name, which in this case will be the legal description for the parcel. You may need to zoom in a little on the layout to see the text more clearly, but it should appear as seen below.
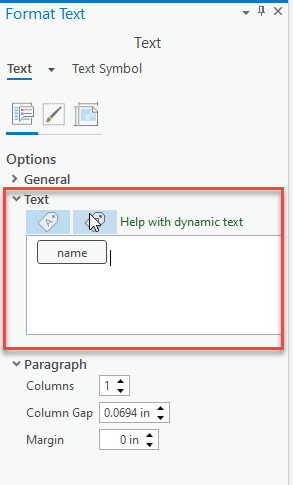
Right click the dynamic text you just added and select Properties to display the Format Text pane seen below.

Remove the static text “Page Name:” In the Format Text pane under Text remove “Page Name:” so that it appears as follows:
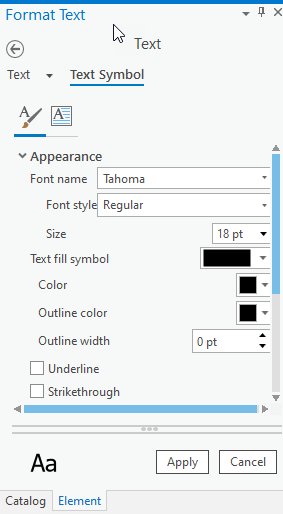
Increase the size of the text by going to Text Symbol | Properties | Appearance and changing the size to 18 pt.
Use the Insert tab to add a Scale Bar.
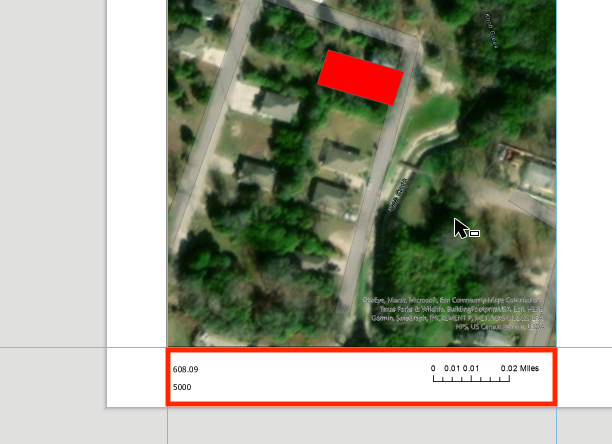
Finally, on the Insert tab, add two additional dynamic text elements that display attributes for FeeBalance and LandValue. In the gallery that is displayed when you select the dropdown arrow for Dynamic Text you will need to select Attribute under Map Series and then select the column from the list displayed. The end result should look similar to the screenshot below.
Right click the first text item (FeeBalance) and select Properties. Add the text “Fee Balance:” before the attribute.
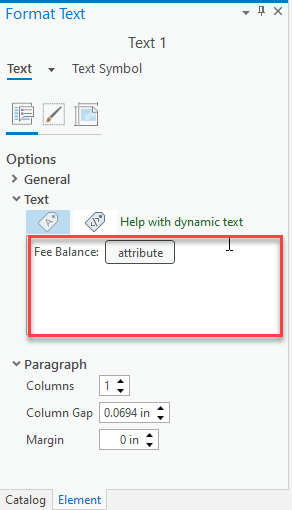
Do the same for the Land Value dynamic item.
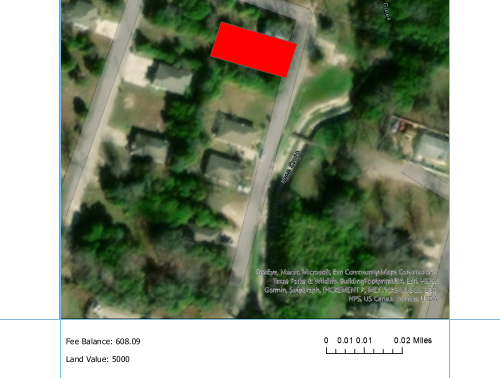
The lower portion of the layout should now appear as seen below.
Save the project.
Exporting the Map Series
The final step is to export the map series to a PDF document. On the Share tab in ArcGIS Pro find the Layout button under Export as seen below.

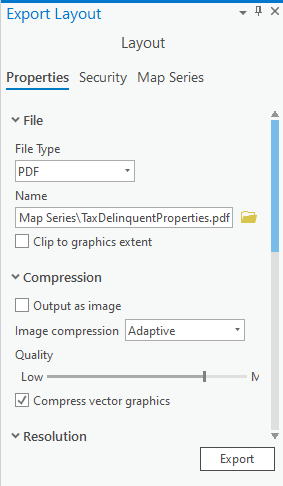
Click the Layout button to display the Export Layout pane. Ensure that PDF is selected as the File Type, define a location and file name, and in general you can accept all the other default settings under the Properties tab. You may want to tweak some of these properties though.
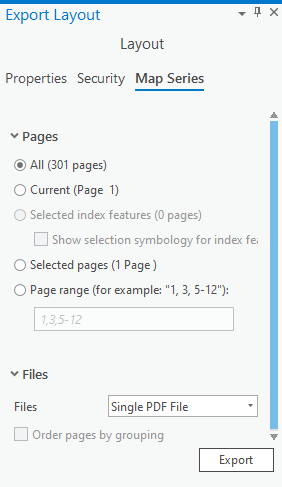
Click the Map Series tab near the top of the pane. This is where you define the pages that will be exported (All, Current, Selected index features, Selected Pages, Page Range). Select “All” in this case. Under Files you can leave the default of “Single PDF File”, but in some instances you might want to select Multiple PDF Files. By selecting a single PDF file you’ll get one page per sheet inside a single output PDF file.
Click the Export button to being exporting the map sheets.
The output should appear as a PDF file with the name and location that you defined. In a future tutorial I’ll show you how to create a Python script to automate part of this process.
