

This blog post explains how to use the Clip tool in ArcGIS Pro, using some example data.
The Extract geoprocessing tools offers a set of filter tools to work with subsets of spatial data. Often, the tools require SQL expressions to select features and attributes in a feature class or table. The output features and attributes are stored in a feature class or table, that can be the starting point for further analysis. Here, we look at how to use the Clip tool for point and polygon features.
Want to learn more about ArcGIS Pro? Take a look at our Online Training Bundles and Live Online Training events.
Clipping polygon layers
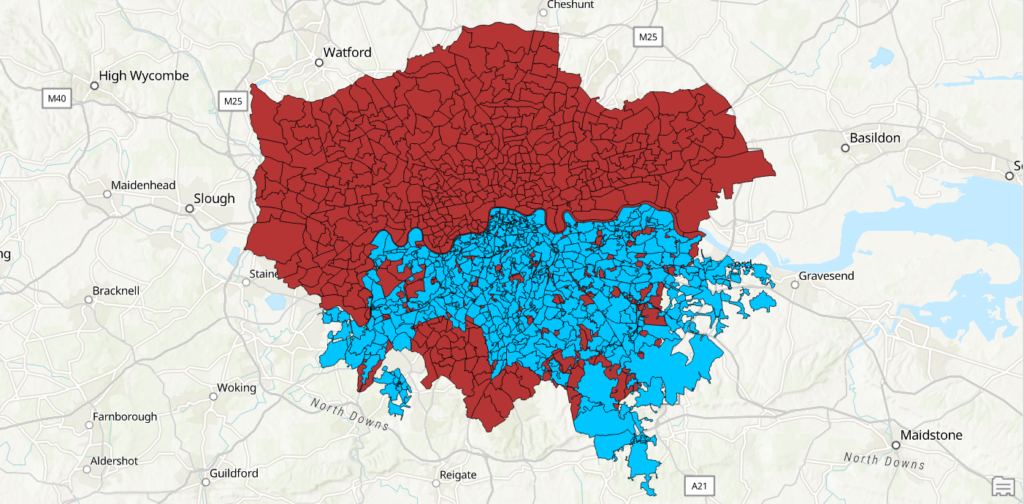
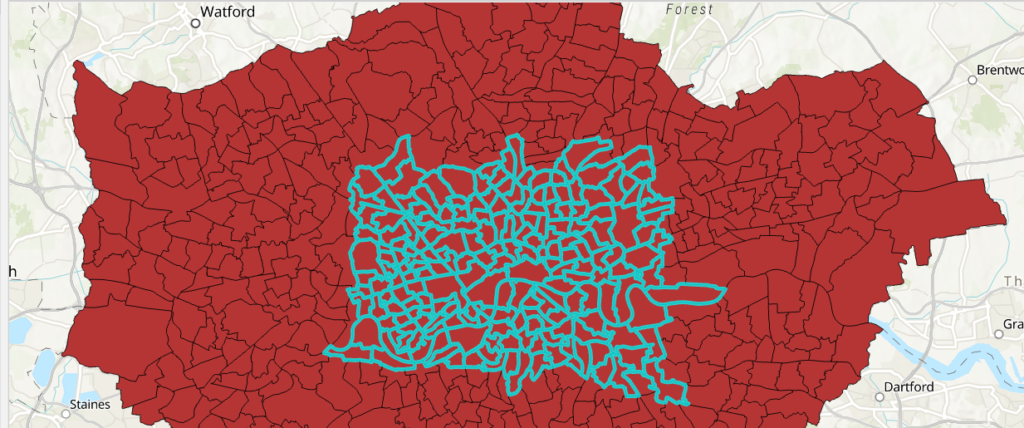
The Clip tool extracts input features that overlay the clip features. The following examples use two polygon layers of geographical boundaries in London: the first is a feature layer called “statistical gis boundaries london”, the second one “shapefile for south london”. The first one (displayed below in dark red) contains multiple layers, of which we’ll only use London_Ward_City_Merged, that covers the whole of London. The second layer (in blue) covers a smaller area, which we’ll use as a Clip feature along with the first layer. Although the blue layer is laid on top of the dark red layer, we can see that there are small red areas inside the blue polygon layer, which means that the blue layer contains holes and does cover the entire region. These holes should also be visible after using the Clip tool.
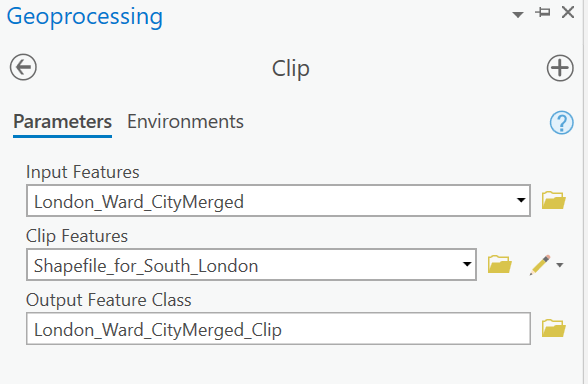
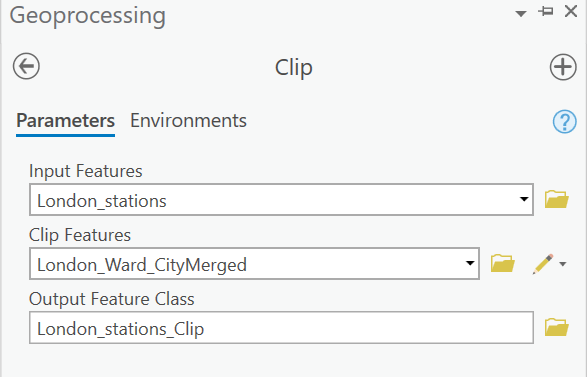
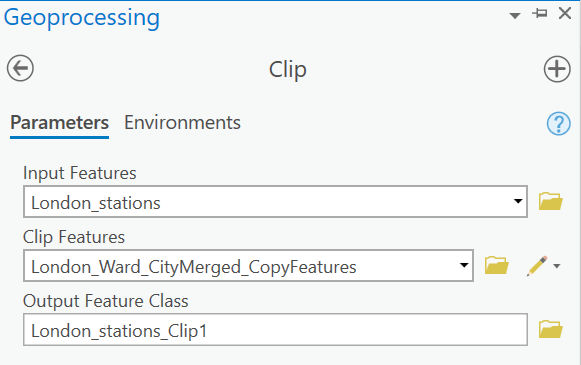
We can call the Clip tool from the Analysis Toolbox and select the Extract toolbox and Clip tool inside it. The blue polygons are used as clipping features:
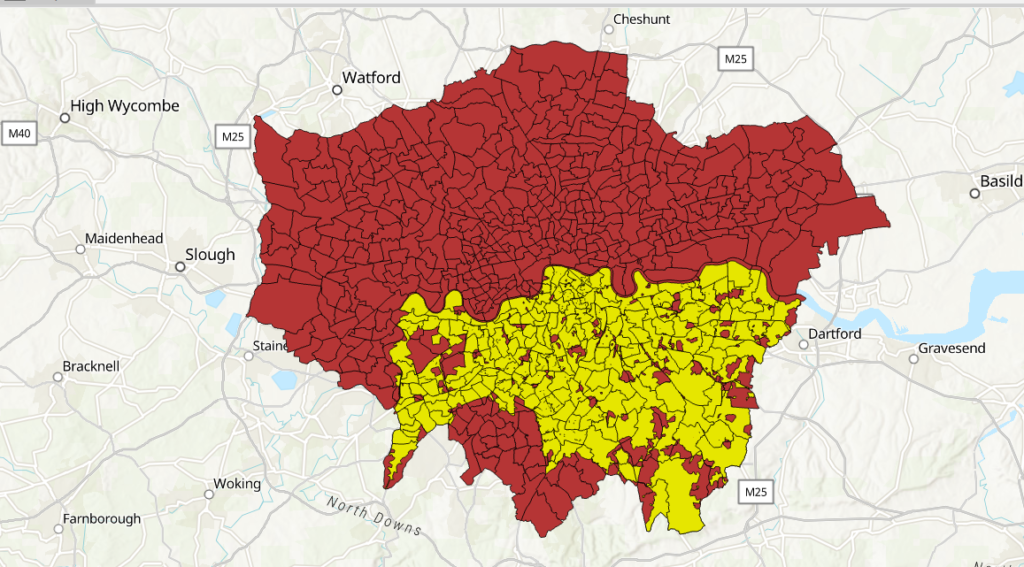
The resulting feature polygons are displayed in yellow, on top of the red polygon layer. This means we have made a selection of the blue polygon layer from the last image, by clipping it with larger, red polygon layer. This selection, marked in yellow below, can be used for further analysis.
Clipping points
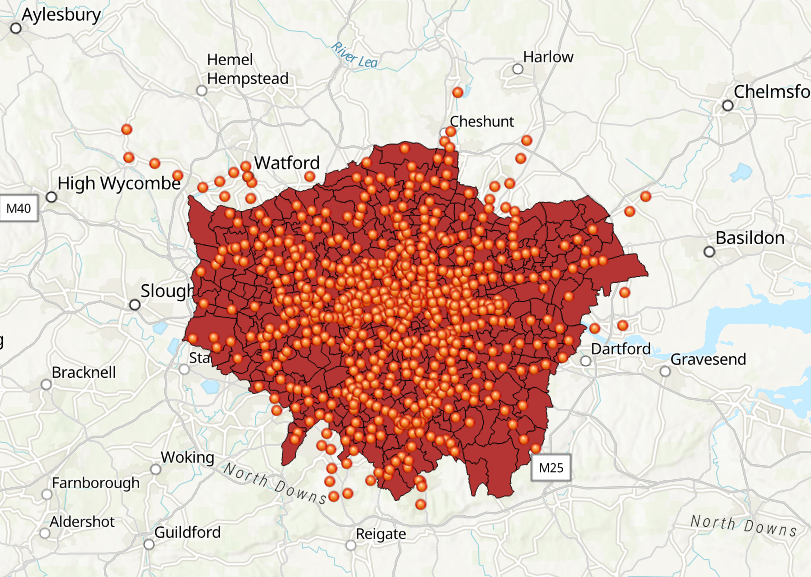
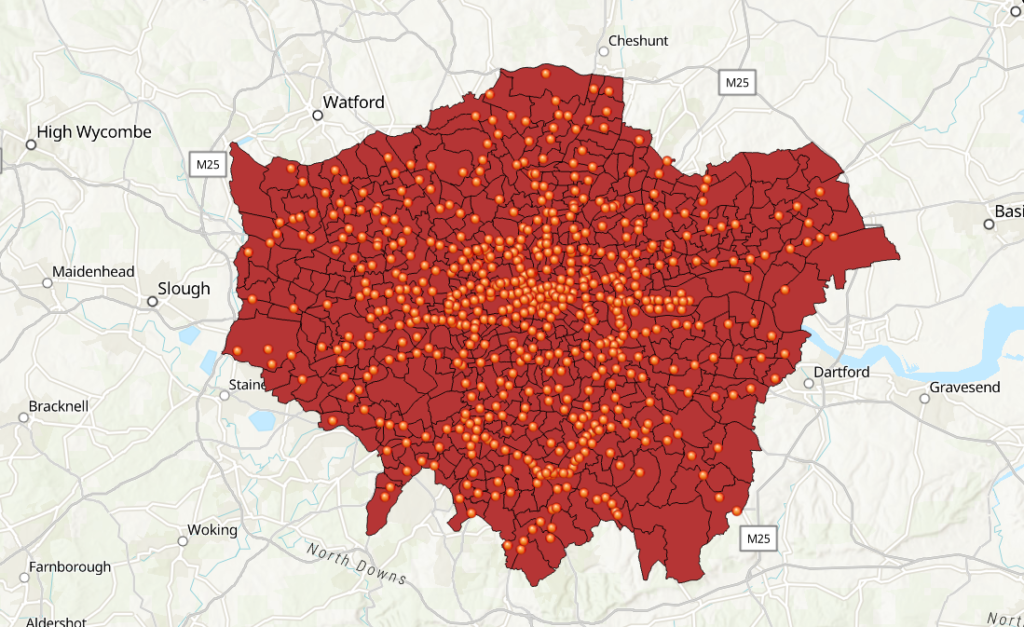
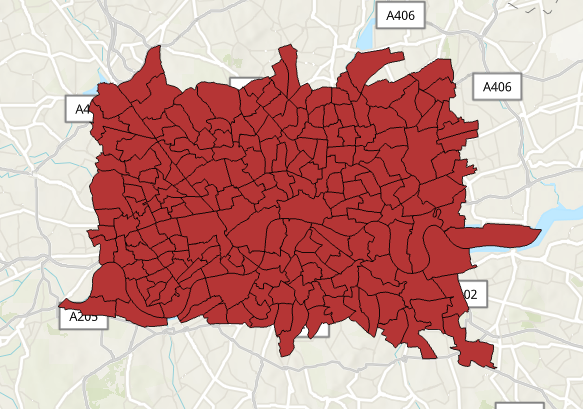
We can do the same thing one more time, only now using point features as input. As we can see, there are multiple points that fall outside of the red polygon layer:
Let’s suppose we want to only use the points that are inside the red polygon layer, meaning we clip area of the red polygons with the points as follows:
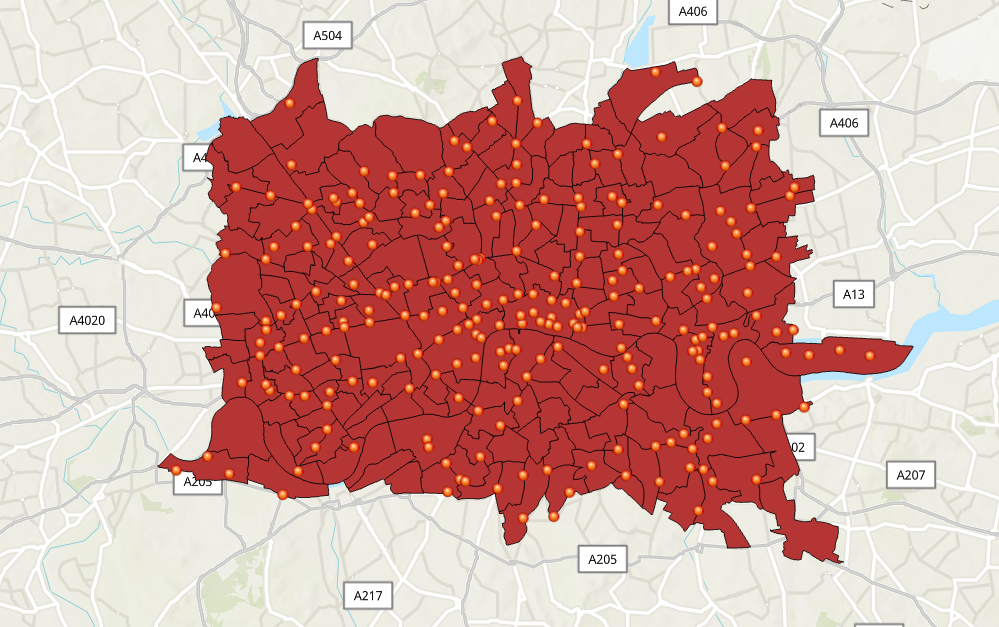
As expected, the resulting maps only shows the points inside the red polygon area:
Clipping a smaller polygon area with points
Let’s suppose you want to make a selection of the red polygons and clip those with point features. One “trick” to do this quickly is to draw a polygon (or other shape of choice) on the map using the Selection tab under Map on the ribbon interface. Choose “polygon” under Select to quickly select the polygons of choice, for example like this:
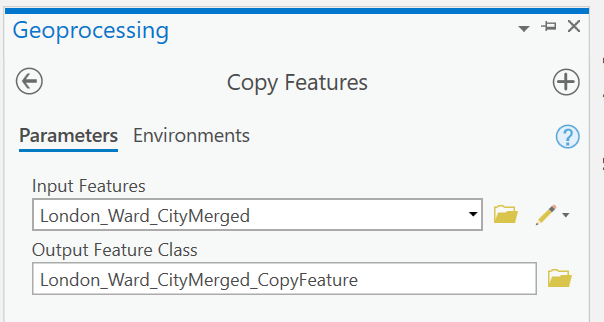
To write these selected features to a new feature class, search for the Copy Features tool and fill in the parameters:
The result is a selection from the polygon layer that we can use the Split tool with:
Using this new layer with the points as clipping features, we call the Clip tool again:
The result is a map contains the points that lie within the red polygon selection:
How to extract data quickly
The examples above showed how to easily filter data using the Clip tool. Although the Clip tool enables you to make data selections quickly without having to write SQL queries, you cannot use more than two feature layers at the same time. The tool is a handy “cookie-cutter” to quickly selecting data using other spatial features, but not a good fit for complex selections that require SQL queries.
Also, the Clip does not allow you to combine all spatial data types: depending on the clipping features, you can only use polygons, or a combination of all three data types. For example, the most options are available when your input features are points, while polygon features can only be clipped with other polygons.
Finally, the last example showed that the Selection menu on the ribbon offers a quick way to make a selection of a large polygon layer and use that selection to clip point features. Such a combination of features is often required to obtain the selection of features you need for further analysis.
Want to learn more about ArcGIS Pro? Take a look at our Online Training Bundles and Live Online Training events.
