

Our annual Spring Sale is underway! Save 20% on any of our classes through May 31st by using the discount code springsale when checking out online.
Selection layers are one of the most versatile yet sometimes overlooked features in ArcGIS Pro. Whether you’re a GIS novice or a seasoned professional, understanding how to leverage selection layers effectively can dramatically improve your workflow and analysis capabilities. In this article, we’ll explore what selection layers are, how they work, and how you can use them to enhance your GIS projects.
What Are Selection Layers?
A selection layer in ArcGIS Pro is essentially a temporary layer that represents a subset of features from a source layer. These features are selected based on specific criteria, whether through attribute queries, spatial relationships, or manual selection. What makes selection layers particularly useful is that they maintain a connection to their source data while allowing you to work with just the features you need.
Selection layers are typically used as temporary layers that facilitate some larger geoprocessing workflow where a selected subset of features is used and then discarded without the need to be saved as an independent feature class. They can be saved if needed, but they are meant to be temporary datasets used in a geoprocessing workflow.
The Evolution of Selections in ArcGIS
Users familiar with previous versions of ArcGIS might remember when selections were simply highlighted features within a layer. ArcGIS Pro has evolved this concept significantly by introducing selection layers as first-class citizens in the software. Unlike simple highlights, selection layers can be:
- Saved and reused
- Styled independently
- Used as inputs for geoprocessing tools
- Shared with others
From Selection Sets to Selection Layers
The foundation of selection layers in ArcGIS Pro is the concept of selection sets. Selection sets are temporary collections of features that meet specific criteria or have been manually identified.
In ArcGIS Pro, these selection sets can be elevated to full-fledged selection layers. Here’s what makes this relationship important:
- Selection Sets as Precursors: Every selection layer begins as a selection set within your data. These selection sets can be created through attribute queries, spatial relationships, or manual selection methods.
- Transformation Process: Once you have a selection set, ArcGIS Pro allows you to convert it into a selection layer through simple right-click operations or geoprocessing tools.
- Enhanced Capabilities: While selection sets are temporary states of a layer, selection layers gain persistence and additional functionality while maintaining their connection to the source data.
- Bidirectional Relationship: Selection layers remain connected to their source data, meaning changes in the source attributes will be reflected in the selection layer.
This evolution from selection set to selection layer represents a significant advancement in how GIS professionals can work with subsets of their data without duplicating or extracting the actual features.
Creating Selection Layers
- Create a selection set (using interactive selection tools, Select by Attributes tool, or Select by Location tool).
- Right click the layer in the Contents pane and select Selection –> Make Layer From Selected Features. Note: You can also create the selection layer by going to the Data tab and selecting the Layer From Selection button.
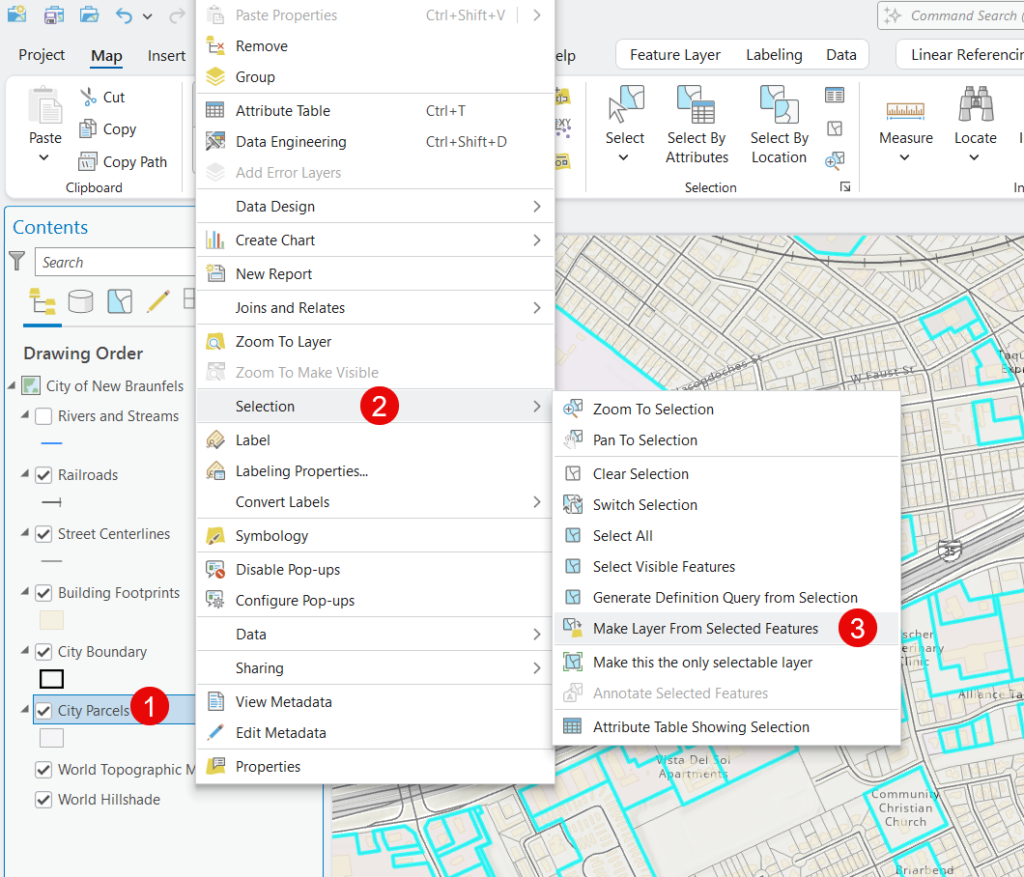
- The new selection layer will be displayed in the Contents pane.
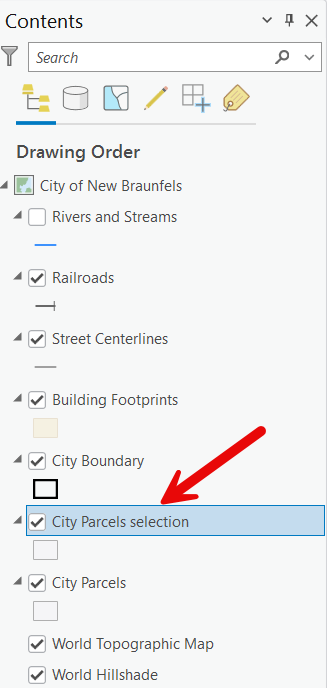
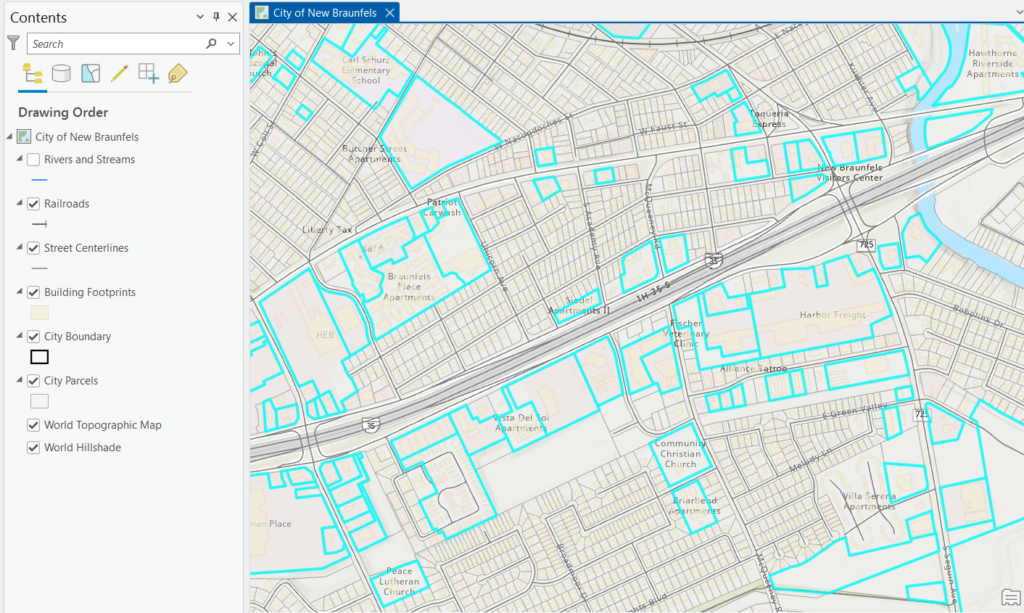
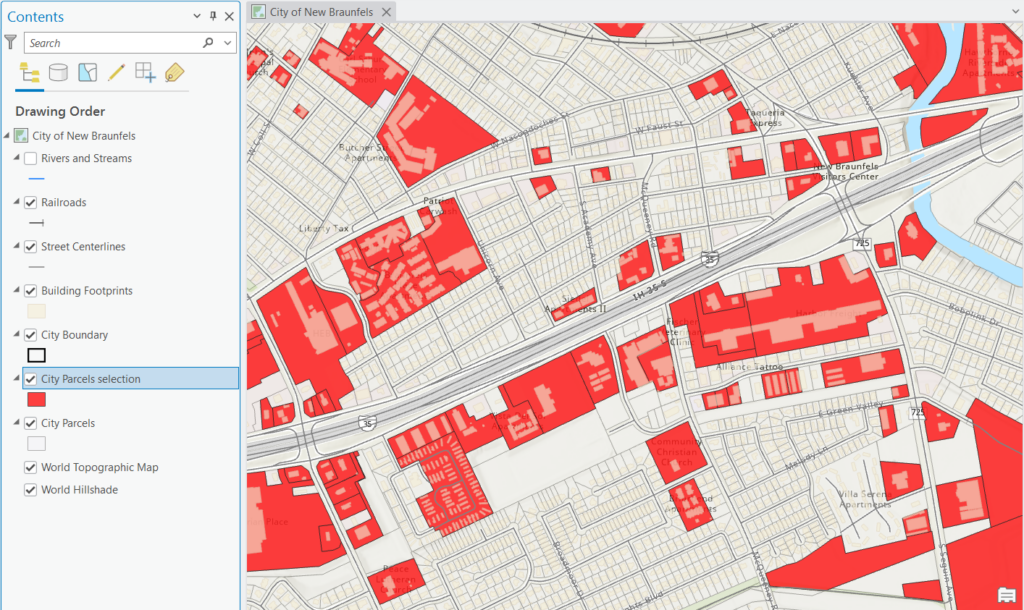
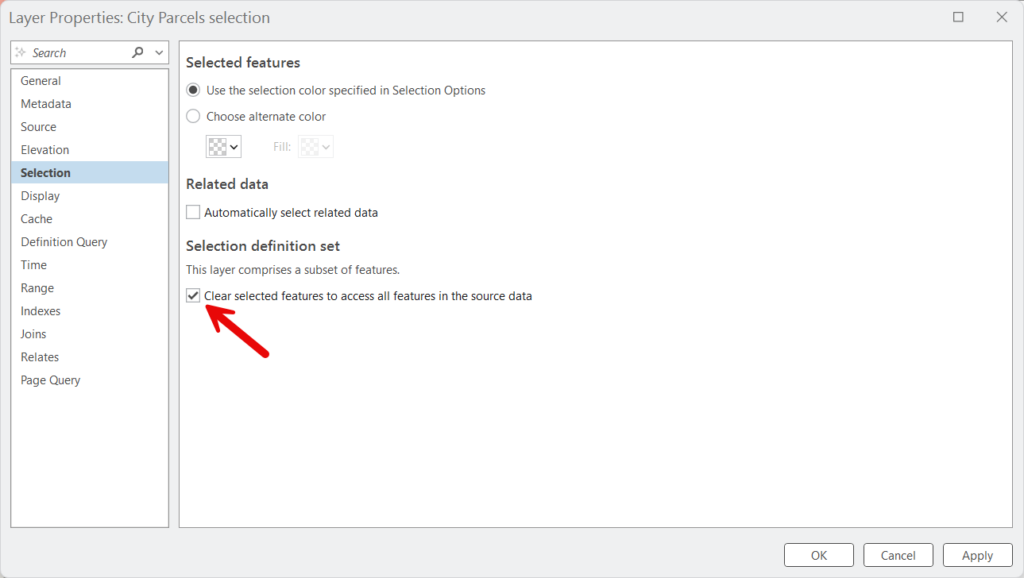
- You can then style the selection layer as desired. This layer has the same data source as the original layer (City Parcels in this case) but references only the features that are selected. Note: The selection layer is only useful as a temporary working dataset, for example, as an input into a geoprocessing model. It lists the FeatureIDs (FIDs) or ObjectIDs (OIDs) of the selected features. These are invalidated when the original data source is updated or changed.
- When you no longer need the selection layer you can clear it from the Layer Properties dialog of the selection layer. Alternatively, if the original layer is still in the map, you can right-click the selection layer in the Contents pane and click Remove to discard the layer entirely. The original layer is unaffected.
Styling Selection Layers
One of the key advantages of selection layers is the ability to style them independently from their source layer. This allows you to:
- Highlight important features with distinct symbology
- Use different classification methods
- Apply different label settings
- Create focused visualizations without duplicating data
Practical Applications
Analysis Workflow Enhancement
Selection layers streamline complex analysis workflows by allowing you to:
- Isolate specific areas of interest
- Run multiple analyses on the same subset of data
- Compare different selection criteria side by side
- Maintain data integrity while experimenting with different scenarios
Project Organization
For large projects with multiple stakeholders, selection layers can help organize your work:
- Create selection layers for different project phases
- Define selection layers for different departments’ areas of interest
- Save selection criteria for recurring analyses
- Document your selection methodology
Reporting and Presentation
When preparing maps for presentation or reports, selection layers offer:
- The ability to focus attention on relevant features
- Consistent representation of important areas across multiple maps
- Quick toggling between different selections for comparison
- Cleaner, more focused cartographic output
Best Practices for Selection Layers
1. Clear Naming Conventions
Name your selection layers descriptively to indicate:
- The source layer
- The selection criteria
- The purpose of the selection
Example: “Parcels_HighValue_2023Analysis”
2. Document Your Selection Criteria
Always document the queries or methods used to create your selection layers:
- Save SQL expressions
- Add metadata to selection layers
- Include selection information in your project documentation
3. Manage Your Selections
Selection layers, while useful, can proliferate quickly:
- Regularly clean up unused selection layers
- Group related selection layers in your Contents pane
- Consider creating a dedicated group for temporary selection layers
4. Selection Layer Storage
Decide whether your selection layers should be:
- Temporary (deleted when the project closes)
- Saved with the project
- Exported as permanent feature classes (when the selection represents a milestone)
Common Challenges and Solutions
Performance Considerations
Selection layers reference the original data, which can affect performance with very large datasets:
- Consider creating actual feature classes for selections you use frequently
- Use definition queries instead of selections for very simple criteria
- Index fields commonly used in selection criteria
Synchronization Issues
When the source data changes, selection layers may need to be updated:
- Re-run selections after major data updates
- Document the date when selections were created
- Consider automating selection updates for critical workflows
Conclusion
Selection layers in ArcGIS Pro represent a significant evolution from the simple selections available in previous versions. By understanding how to create, manage, and leverage these powerful tools, you can enhance your spatial analysis capabilities, streamline your workflows, and create more focused, informative maps. Whether you’re conducting complex spatial analyses or simply organizing your project data more effectively, mastering selection layers is a valuable skill for any GIS professional.
As you continue working with ArcGIS Pro, experiment with different selection techniques and find the approaches that work best for your specific projects. The flexibility and power of selection layers make them an essential component of the modern GIS toolkit.
