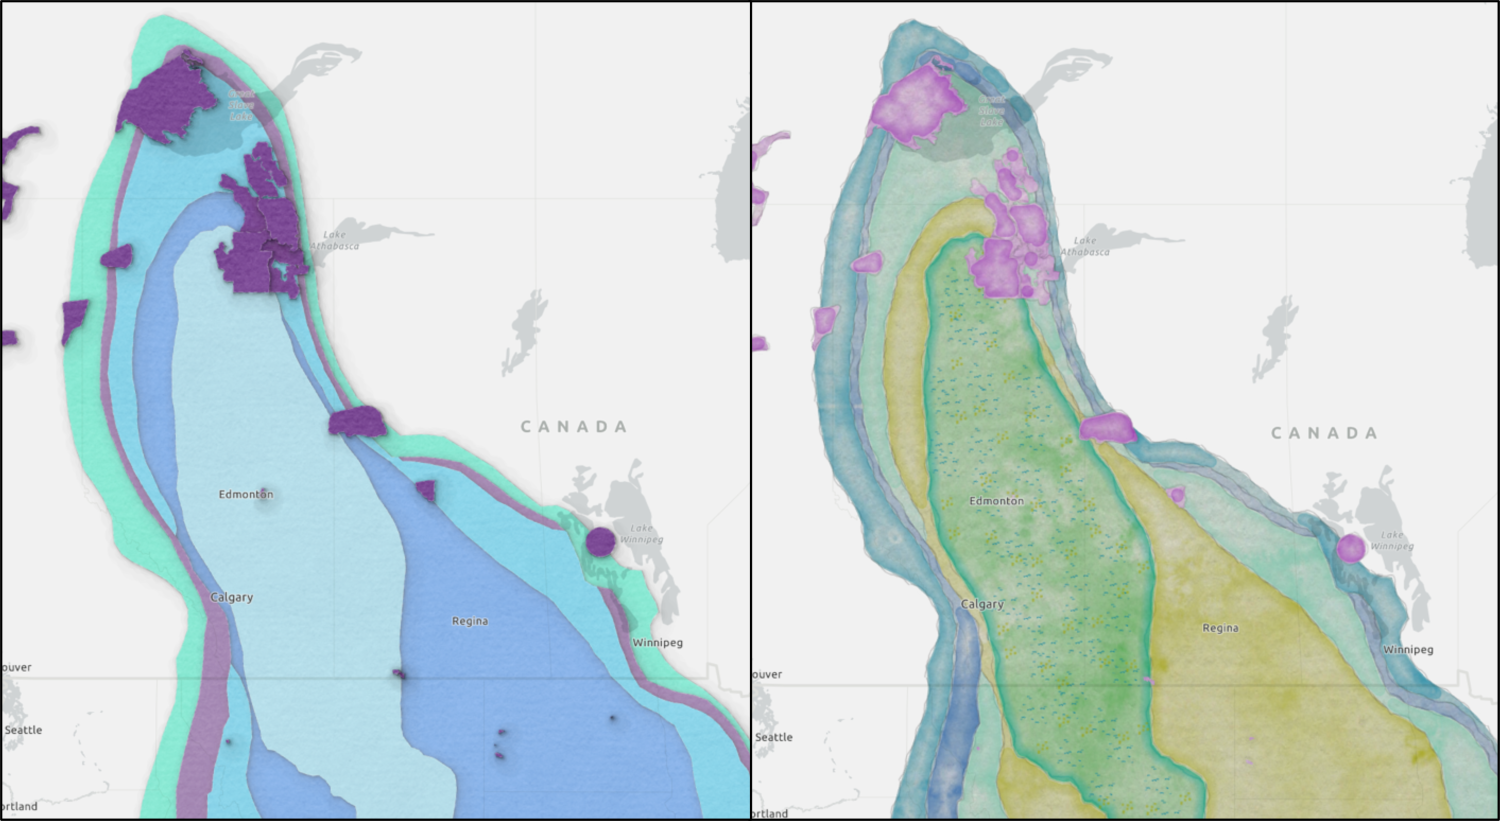
Did you know ESRI has more than 20 unique styles you can add to your ArcGIS Pro Projects to help you customize creative and fun maps? Read below to learn how to customize unique and colorful maps by adding ESRI Creative Styles to your project.
What are ESRI Styles and where are they stored?
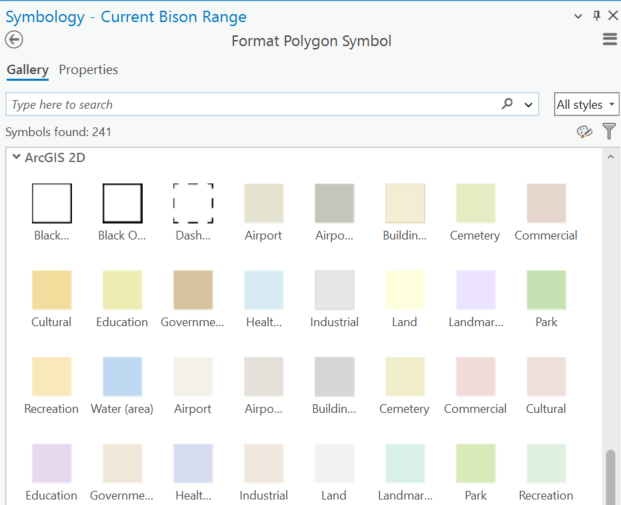
Styles are the containers that hold themes for symbols, color, label placements, and layout items. If you have changed the color for your polygons or polylines in your ArcGIS Pro maps, then you have used ESRI Styles. When you choose your north arrow, you are choosing from a default style. Basically, any time you are symbolizing, labeling, or using layout items in ArcGIS Pro, you are utilizing default 2D and 3D styles that were installed with ArcGIS Pro (below image). In addition to these defaults, you have the ability to create your own custom styles or use ESRI’s creative styles.
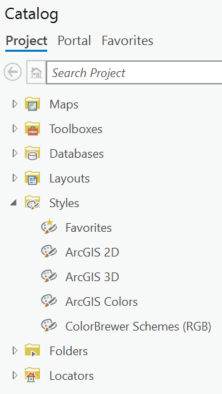
All Styles are managed as items in ArcGIS Pro. You can find them in the Project folder of your Catalog, listed under “Styles”.
What are ESRI Creative Styles and where can I find them?
ESRI Creative Styles are fun and unique styles and themes that have been pre-curated by ESRI’s top cartographers. You can easily make your maps look like many different vintage styles throughout history, or choose to go with something more unique like watercolors or pirates. There are more than 20 options that you can peruse in the Creative Styles Gallery.
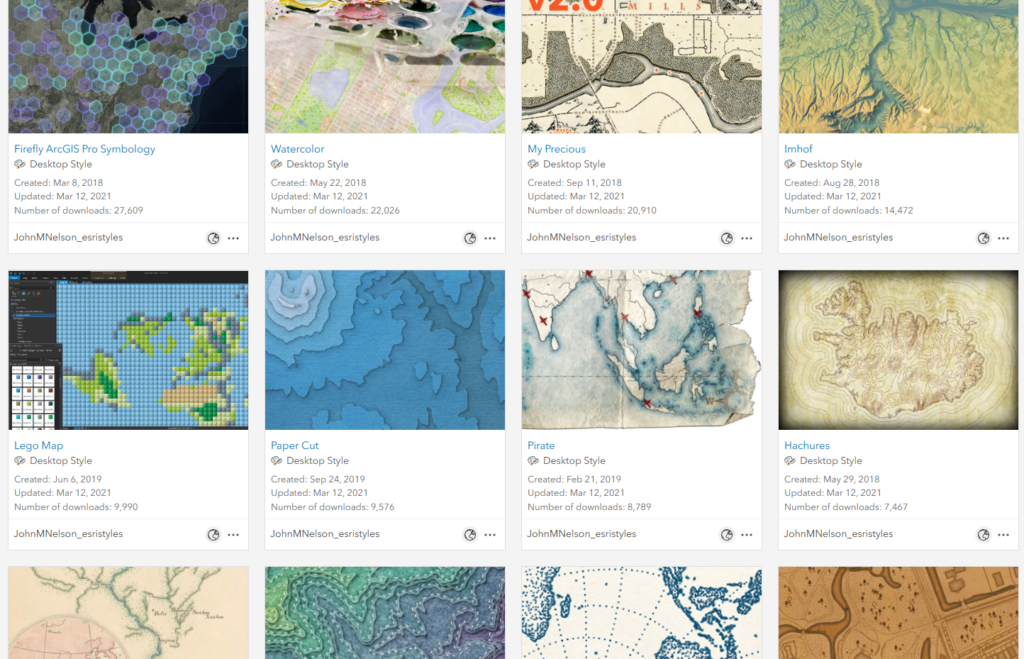
The great thing about ArcGIS Pro is that you don’t have to go through the manual process of downloading a style from the online gallery and then go through a workflow to ensure it’s in the appropriate folder to be accessed by ArcGIS Pro. All you need to do is search the ArcGIS Online portal from your Catalog pane and then add the style to your ‘OnlineStyles’ folder. You can do this by right-clicking on the style in the search results and then choose “Add Style”.
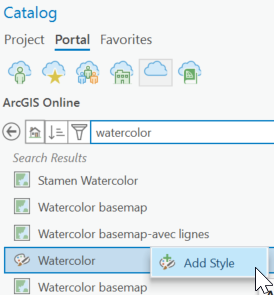
Your style will be saved in your ‘OnlineStyles’ folder under your computer’s user profile located at: [drive]:\Users\[your_name]\Documents\ArcGIS\OnlineStyles
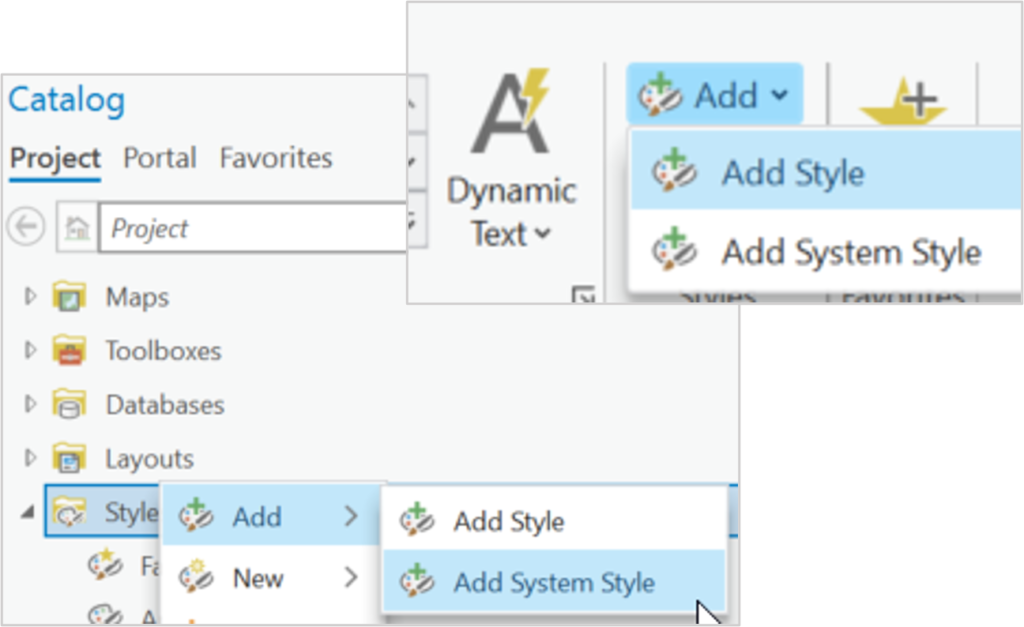
Now you need to add the style to your project. To do this, you can either click on ‘Add Style” from the Insert Tab of your project, or you can right click on the Styles folder in your catalog and choose to ‘Add Style” from there. During this process, you may see a message that the version of ArcGIS Pro does not fit the version of style you are downloading, and you are asked if you want to upgrade the style version, just say ‘Yes’ and move on to the next step.
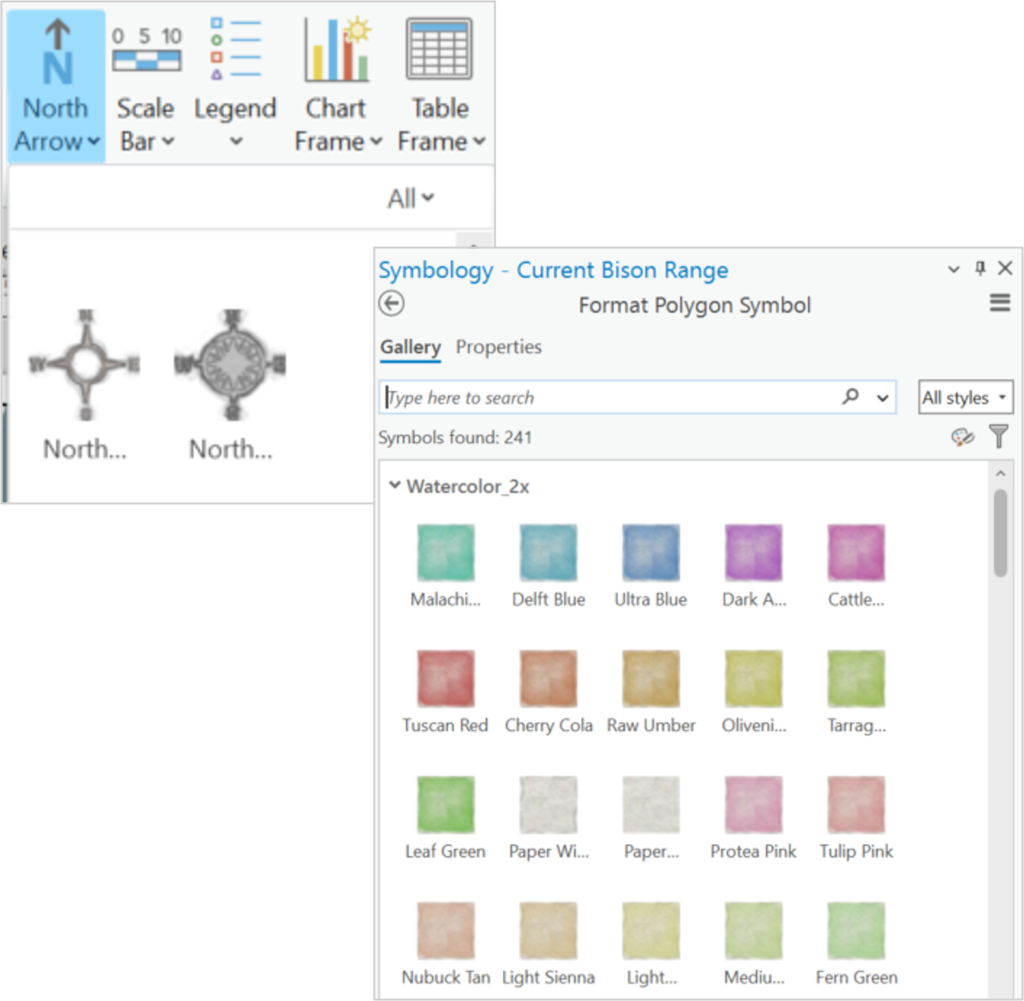
Once you have added the style item to your styles folder in your project, you will see the style options that are available to you. In the image below you can see the north arrows that are available for a pirate-themed map, and the color symbols that are available for a watercolor-themed map.
We encourage you to dig in and have some fun with ESRI Creative Styles and see where your creative curiosities can take you!

